
Changing the pedals on your bike may seem like a daunting task, but with the right tools and directions, it’s a simple task that can make a big difference in your ride. You should be aware of how do you change pedals on a bike to keep your bike performing at its best. Whether you’re changing to performance pedals or replacing new ones for old, worn pedals, it’s a straightforward task.
Having the right tools and following a step-by-step guide will ensure you can change your bike pedals without hassle. In this post, we’ll walk you through the process and provide tips to help you get it done efficiently.
2. Why You Might Need to Change Bike Pedals
If you are acquiring new pedals, upgrading a worn-out pair, or adding personalized touches to your bike, there are numerous reasons why you might change your bike pedals. Pedals will wear out over time due to regular use, and this could make pedaling uncomfortable or even harder. Acquiring performance pedals can revolutionize your cycling experience,
offering better grip, comfort, and efficiency. If you just changed your style of cycling, e.g., road biking or mountain biking, you may need pedals that better suit your requirements. Customization is another common reason since you would like pedals that would look good on your bike or would provide additional functionality.
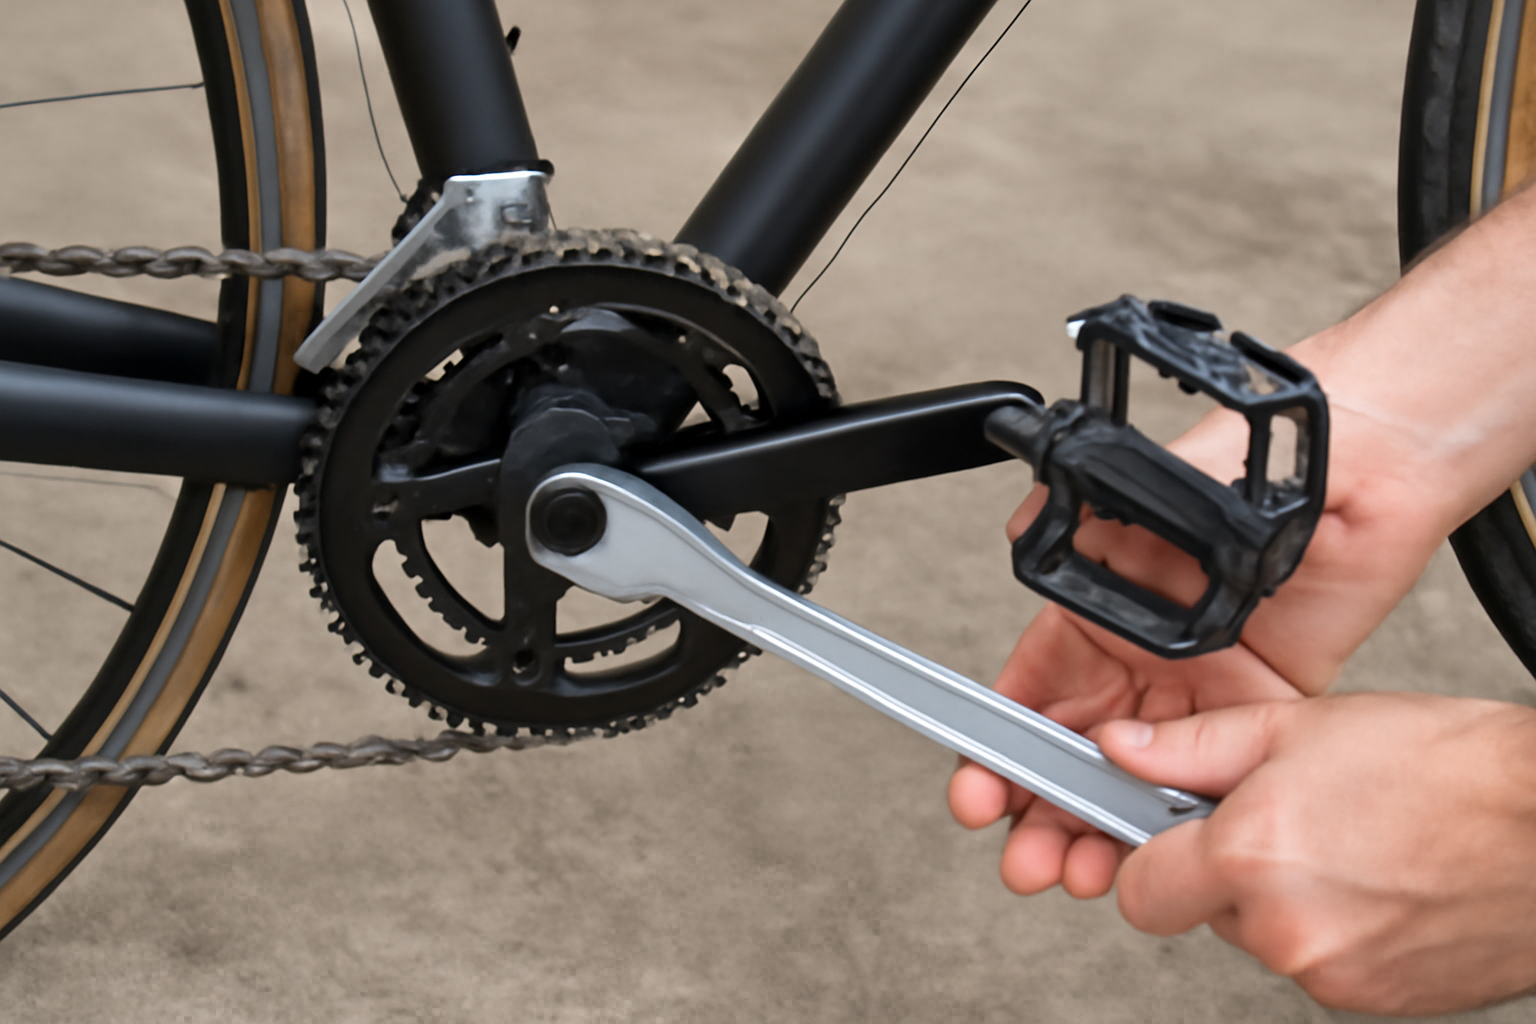
3. Tools You’ll Need
Prior to starting, you need to gather the appropriate tools so that the process can be done effectively and smoothly. The main tool needed for replacing bike pedals is a pedal wrench or a spanner with an adjustable feature. It will tighten and loosen the pedals for you. You might also need Allen wrenches, depending on the type of pedals that you are replacing.
There are some pedals containing a hex screw, which will require an Allen wrench for their removal. Lubricant is not required but highly recommended, especially if your pedals are reluctant to accept ownership since it will prevent rusting and make the process less painful. Proper tools will save you time and
4. Step-by-Step Pedal-Changing Guide
Swap out your worn-out pedals with new ones and get your bike rolling again in no time with these simple-to-follow steps.
- Step 1: Identify the left and right pedals: The left pedal will have an “L” marked on it and the right one an “R.” Note that the left pedal is a reverse thread, tightening counterclockwise and loosening clockwise.
- Step 2: Position your bike in the correct position: Place the bike on a solid surface, either on the ground or a bike stand. This provides you with control and stability as you perform the process.
- Step 3: Release the pedal using the pedal wrench: Align the pedal wrench on the pedal axle and apply pressure in the correct direction to release the pedal.
- Step 4: Remove the old pedal: Once loose, unscrew the pedal by hand.
- Step 5: Install the new pedal: Thread the threads of the new pedal into the crank arm and hand screw it on.
- Step 6: Tighten the new pedal firmly: Tighten the pedal with the pedal wrench tightly but be careful not to overtighten.
5. Common Mistakes to Avoid
Even though changing your bike pedals is a straightforward task, there are some common mistakes that can make the process difficult or even ruin your bike.
One mistake most people make is confusing the left and right pedals. Be aware that the left pedal is threaded backwards and that threading it incorrectly can strip it.
Another mistake is tightening the pedals too loosely, resulting in loose pedals when pedaling. Yet, tightening too much hurts crank arm or pedal threads, making their replacement challenging. Use the correct amount of force at all times to lock the pedals and double-check their tightness.
6. Pedal and Bike Maintenance Tips
Having installed your new pedals, to keep your pedals in excellent condition for a long time, follow these easy maintenance tips.
Regular care needs to be done to prevent the buildup of dirt and grime on pedal threads. After every ride, you can clean your pedals with a gentle cloth or brush.The threads can be oiled occasionally to prevent rust and make future pedal changes easier.
Checking the pedal tightness from time to time means your pedals stay secure and prevent wobbling. Also, inspect the pedal threads for wear or damage because worn-out threads may lead to pedal failure and may require crank arm replacement.
7. Conclusion
Replacing your bike’s pedals is an easy and quick process that can greatly improve your ride, and with the above steps, you will be able to do it confidently.
Whether it is to perform upgrades or simply replace pedal wear, the procedure can be done with minimal tools and time. Be sure to follow the step-by-step guide and avoid committing simple errors to ensure your bike is in running order.
Also, do not forget to keep your new pedals clean, greased, and tightly checked from time to time. With these simple habits, your bicycle will be ready to take on whatever adventure awaits, and your pedals will stand by your side every step of the journey.

I am Ryan Ford, a mountain biking enthusiast who loves to explore the outdoors. I also like to go on adventures with friends and anything else that involves being outside. I love my bike because it gets me out of the house and gives me an opportunity to enjoy nature.