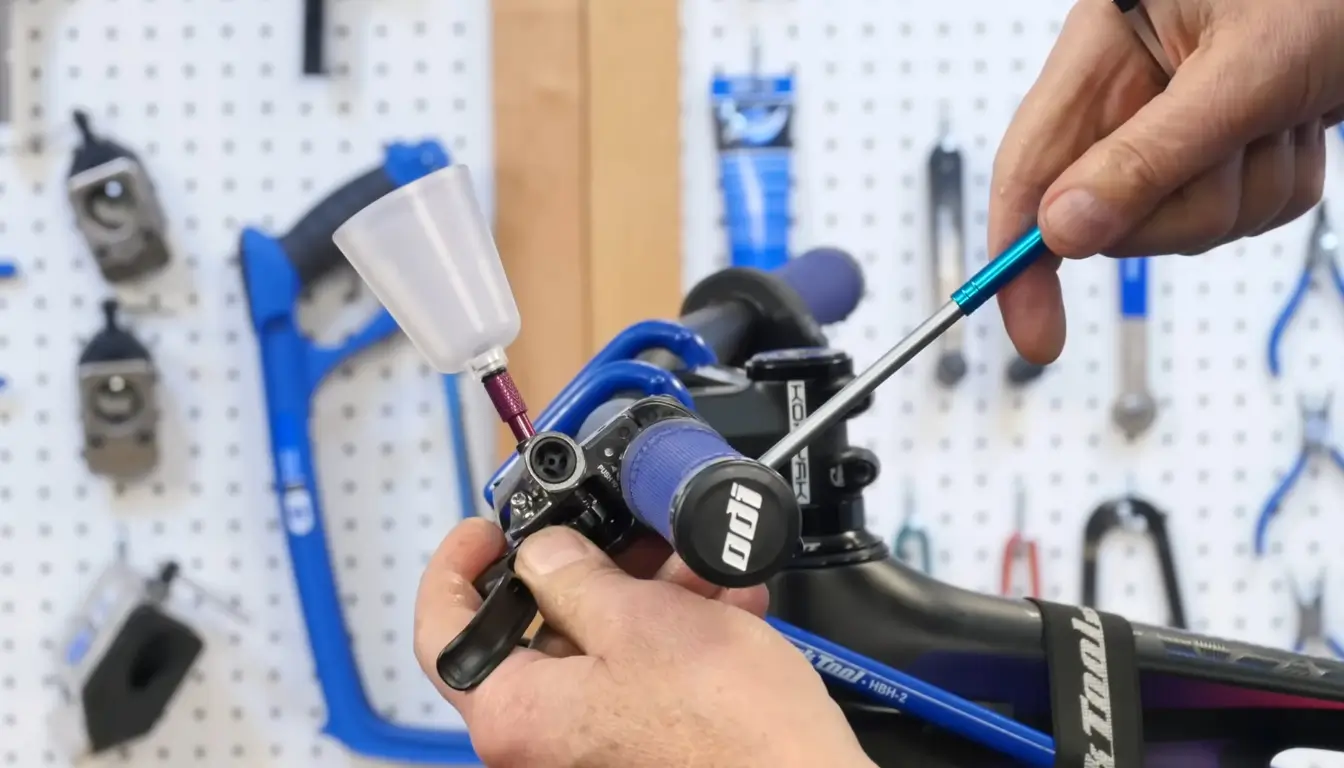
Hydraulic mountain bike disk brakes are key to your bike’s safety. They need regular care to work right. Learning to bleed your brakes is crucial for safety and performance. This guide will show you how to do it right.
Knowing how to maintain your brakes is important for any mountain bike rider. By following the right steps and using the right tools, you can keep your brakes in top shape. This article will cover why brake maintenance is important, the types of brake fluid, and how to bleed your brakes step by step.
Key Takeaways
- Regular brake maintenance is essential for optimal performance and safety
- Learning how to bleed mtb brakes can save you time and money
- Using the correct type of brake fluid is crucial to prevent damage to internal seals
- A step-by-step mtb brake bleeding guide can help you master the technique
- Gravity bleeding is a preferred method for flushing out contaminants from the system
- Periodic brake fluid changes are necessary to prevent contamination and maintain braking performance
Understanding MTB Brake Systems and Why They Need Bleeding
Mountain bike brakes need regular care to work well and keep you safe. Bleeding brakes is a key part of this care. It removes air and old fluid to keep brakes working right.
The brake system uses fluid to send pressure from the lever to the caliper. This pressure makes the brake pads work. But, air can get in and make the brakes less effective. Regular bleeding keeps the brakes strong and reliable.
How Hydraulic Brake Systems Work
Brake fluid is key in hydraulic systems. When you press the lever, it pushes fluid through. This fluid pressure makes the brake pads slow or stop the bike.
Signs Your Brakes Need Bleeding
Look out for signs like extra lever travel, spongy levers, and weak brakes. If you see these, bleed your brakes fast. It’s crucial for safety and performance.
Common Causes of Brake Issues
Brakes can have problems for many reasons. Air, dirty fluid, and old brake pads are common culprits. Regular maintenance, like bleeding and pad replacement, can stop these issues. It keeps your brakes in top shape.
Essential Tools and Materials for Brake Bleeding
For a successful step by step mtb brake bleed, you need the right tools and materials. You’ll need a bleed kit for your brake type, like SRAM or Shimano. These kits have a syringe, hose, and fluid. They cost between £15.99 and £24.99, based on the brand and brake type.
Doing a step by step mtb brake bleed needs careful attention and the right tools. You’ll also need a brake pad piston press, a disc brake gap indicator, and hex and Torx keys. Make sure to use the correct fluid, like DOT 5.1 or mineral oil, and follow the manufacturer’s instructions.
For mountain bike brake maintenance, a clean workspace is key. You’ll need clean, lint-free rags and a container for used fluid. By following these steps and using the right tools, you can keep your mountain bike brakes in great shape.
| Bleed Kit | Brand | Fluid Type | Price |
|---|---|---|---|
| SRAM Bleed Kit | SRAM | DOT 5.1 | £24.99 |
| Shimano Bleed Kit | Shimano | Mineral Oil | £15.99 |
| Universal Bleed Kit | Universal | DOT 5.1 or Mineral Oil | £19.99 |
Safety Precautions Before You Start
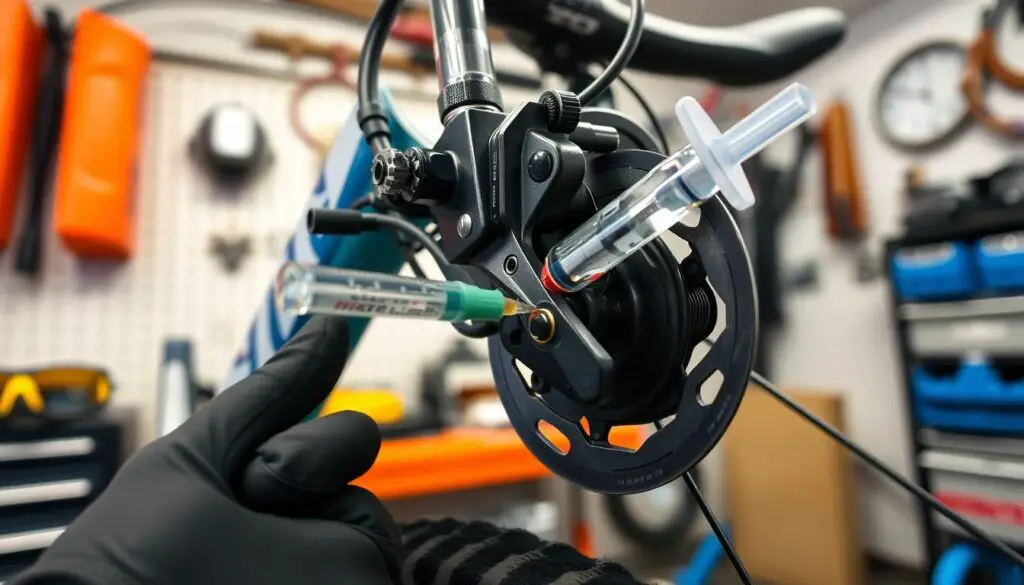
Before you start bleeding your hydraulic mtb brakes, it’s key to take safety steps. This means getting your workspace ready, wearing protective gear, and thinking about the environment. A clean workspace is vital for a good brake bleeding job. Using the right mtb brake bleeding kit can really help.
For workspace prep, a clean and steady area is crucial. It keeps your bike and other things safe. Wearing gloves and safety glasses protects you from harm. Also, work in a place with good air flow to avoid breathing in brake fluid fumes.
Workspace Preparation
A tidy workspace is key for brake bleeding success. Cover your area with a drop cloth or old sheets to catch spills. Have all your tools and the best mtb brake bleeding kit ready. This keeps things organized and safe.
Personal Protection Equipment
Protective gear is a must when working with brake fluid. Wear gloves, safety glasses, and a face mask to avoid skin contact and fume inhalation. Also, wear long sleeves and pants to cover your skin.
Environmental Considerations
When working with brake fluid, think about the environment. Work in a place with good air flow, use a drip pan for spills, and dispose of waste right. Always follow the kit’s instructions and take steps to avoid accidents and damage.
Different Types of MTB Brake Fluid Explained
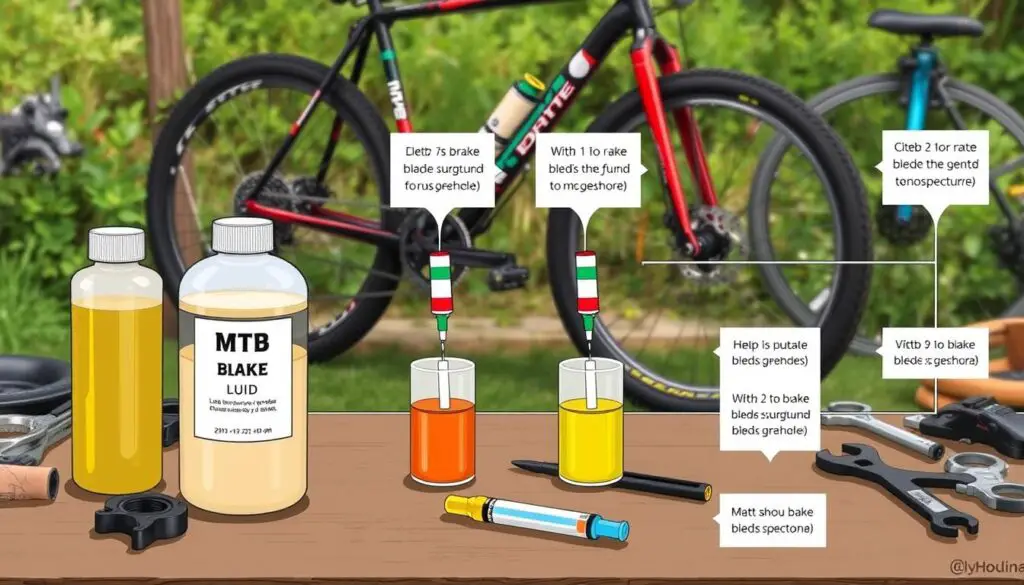
Knowing how to bleed MTB brakes starts with understanding brake fluid types. There are two main types: DOT fluid and mineral oil. Each has its own benefits and drawbacks.
A mtb brake bleeding guide stresses the need for the right brake fluid. The wrong one can mess up your brakes. It might change how they feel, damage seals, or cause fluid to pool.
| Brake Fluid Type | Characteristics | Advantages | Disadvantages |
|---|---|---|---|
| DOT Fluid | Hygroscopic, absorbs water over time | Wider availability, lower cost | Can reduce boiling temperature, cause corrosion |
| Mineral Oil | Non-corrosive, lasts longer | Non-corrosive to bike paintwork, varies among manufacturers | Can be more expensive, may not be compatible with all brake systems |
In summary, knowing about MTB brake fluid types is key for good brake care. By using the right brake fluid, as shown in a mtb brake bleeding guide, you keep your brakes working well and safe.
How to Bleed MTB Brakes: Step-by-Step Process
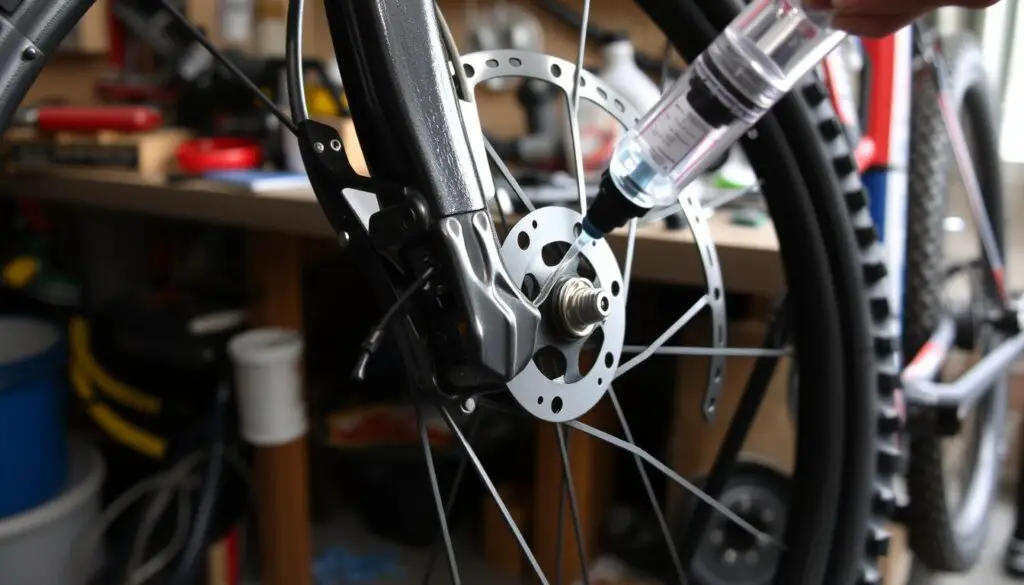
To keep your mountain bike brakes working well, you need to bleed them often. Bleeding mountain bike brakes means getting rid of air and adding new brake fluid. You can do this at home with the right tools and some knowledge.
The steps for mtb disc brake bleeding are easy. First, clean the caliper to remove dirt. Then, set up the master cylinder and add the fluid. Make sure to use the right brake fluid, like DOT fluid for SRAM or mineral oil for Shimano.
Caliper Preparation
Before you start, clean the caliper well. Use a soft brush to get rid of dirt or grime.
Master Cylinder Setup
Follow the maker’s guide to set up the master cylinder. This usually means attaching the brake lever and making sure everything is closed.
Fluid Insertion Process
Put the brake fluid in the system, using the right type and amount. Always follow the maker’s instructions for this step.
Air Bubble Removal Techniques
Use a bleed kit to get rid of air bubbles. Attach the kit to the brake lever and caliper, then pump the lever to remove air.
By following these steps and using the right tools, you can bleed your mountain bike brakes well. This ensures they work right.
| Brake Type | Fluid Type | Bleeding Frequency |
|---|---|---|
| SRAM | DOT fluid | At least once a year |
| Shimano | Mineral oil | Every 6 months |
Specific Procedures for Different Brake Brands
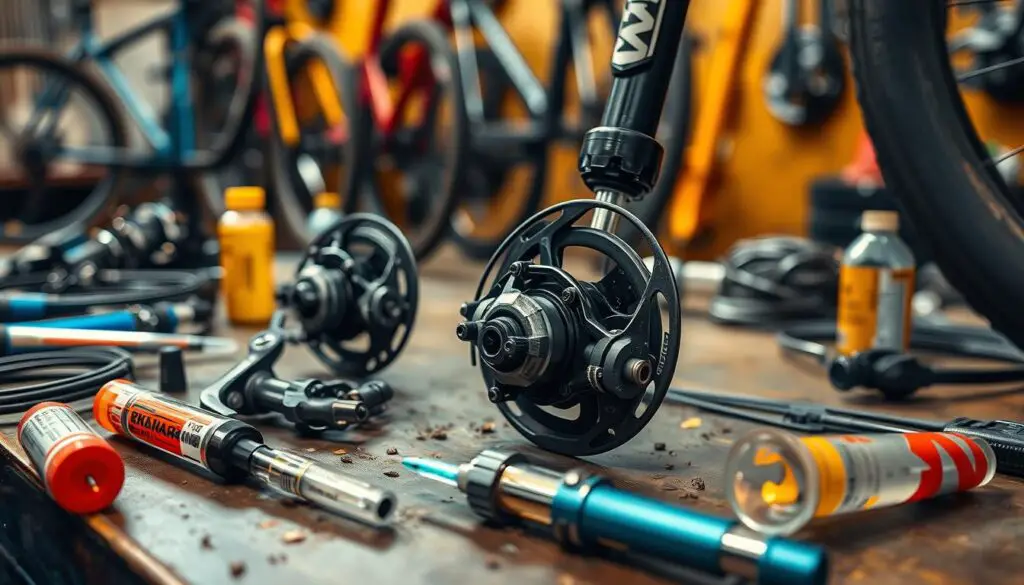
When it comes to step by step mtb brake bleed, each brake brand has its own rules. Knowing these specific steps is key for good mountain bike brake maintenance.
For example, SRAM brake bleeding needs a special sequence to get rid of air bubbles. Shimano brake bleeding is all about the right brake fluid and following a certain process to keep things clean.
Here are some important things to remember for different brake brands:
- SRAM: Use the brake fluid they recommend and follow their bleeding steps.
- Shimano: Pick the right brake fluid and bleed it carefully to avoid mess.
- Hayes: Check the manufacturer’s guide for the best bleeding steps and tips.
By sticking to these specific steps and using the right stuff, riders can keep their brakes in top shape.
| Brake Brand | Bleeding Procedure | Brake Fluid Type |
|---|---|---|
| SRAM | Follow manufacturer’s instructions | Recommended brake fluid |
| Shimano | Specific bleeding process | Correct brake fluid type |
| Hayes | Refer to manufacturer’s instructions | Recommended brake fluid |
Common Mistakes to Avoid During Brake Bleeding
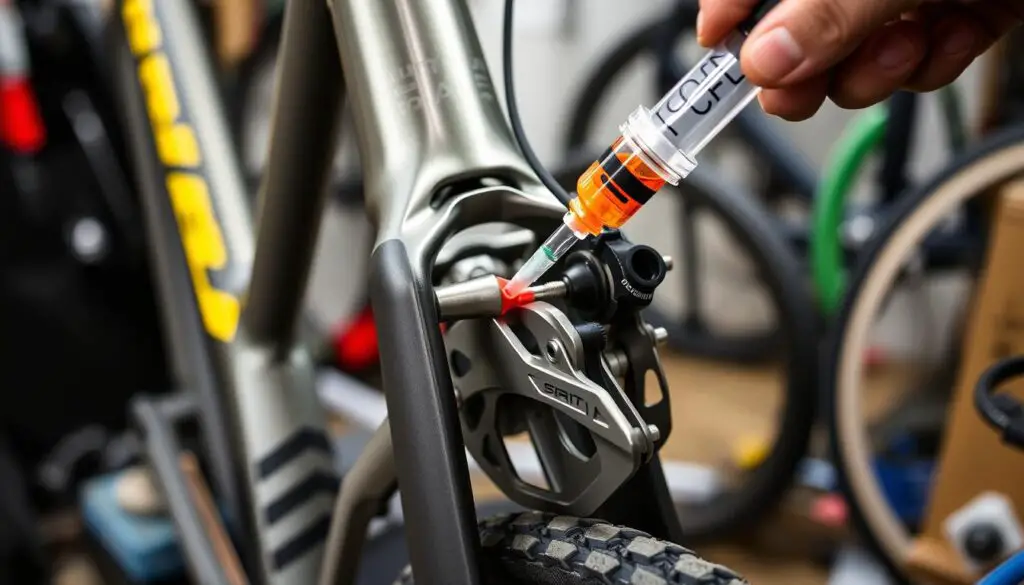
When you’re bleeding hydraulic mtb brakes, there are a few big mistakes to steer clear of. One major error is getting brake fluid dirty. This can make your brakes not work right and even harm the system. To prevent this, use the best mtb brake bleeding kit and stick to the instructions.
Another mistake is tightening the bleed kit too much. This can hurt the small rubber o-ring that keeps the system sealed. Also, take off the wheel and brake pads before you start. This stops brake fluid spills and keeps the pads clean.
- Using the wrong brake fluid, like DOT fluid or mineral oil, can mess up brake performance
- Not getting rid of old brake fluid yearly can cause corrosion and affect how well it works
- Adding too much brake fluid can make it hard to replace brake pads
To avoid these mistakes and do the job right, use the right tools and techniques. Always pick the best mtb brake bleeding kit and follow the instructions. This will help you get the best results.
Troubleshooting Poor Brake Performance After Bleeding
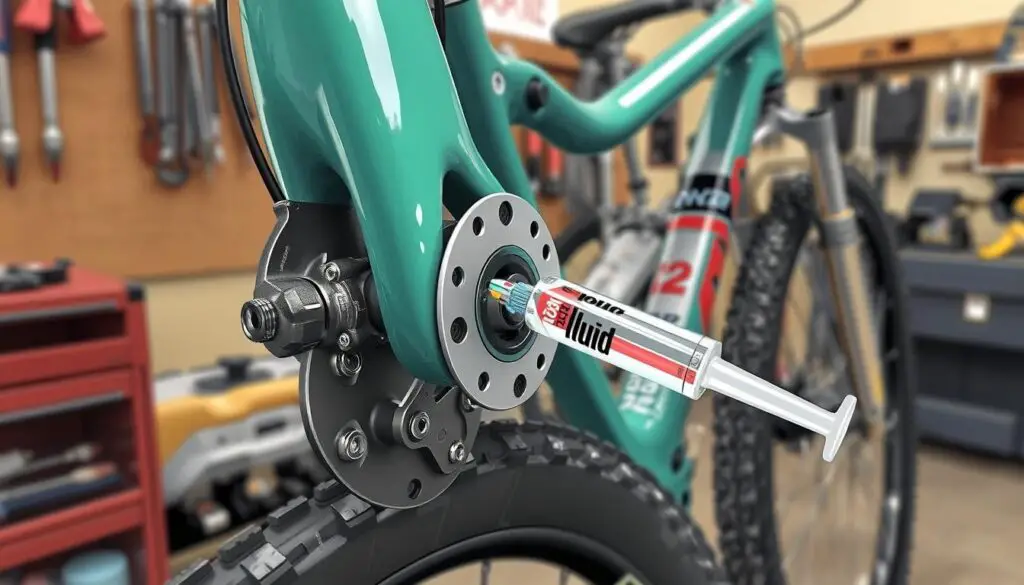
After you’ve followed the mtb brake bleeding guide, it’s key to check if your brakes work well. If your brakes don’t perform as they should, there could be several reasons. Knowing how to bleed mtb brakes helps you find and fix these problems.
Air in the system, contamination, and mechanical issues are common reasons for poor brake performance. Start by checking the brake fluid level and looking for air bubbles. If you see air bubbles, you might need to bleed the brakes again to get rid of them.
Air in the System
Air in the system can make your brakes feel spongy or not work well. To fix this, you’ll need to bleed the brakes again. Make sure to follow the mtb brake bleeding guide closely. Also, check the brake hoses and connections for damage or leaks.
Contamination Issues
Contamination happens when dirt or debris gets into the brake system, leading to poor performance. To avoid this, use clean brake fluid and keep the system clean while bleeding. If you think contamination has happened, you might need to flush the system and change the brake fluid.
Mechanical Problems
Mechanical issues, like worn-out brake pads or damaged rotors, can also cause brake problems. To solve these, check the brake pads and rotors and replace them if needed. Properly adjusted disc brakes help you ride faster and more confidently.
By following the mtb brake bleeding guide and checking for problems, you can make sure your brakes work right. This ensures a safe and fun ride. Always check the manufacturer’s instructions for specific advice on bleeding and maintaining your brakes.
| Issue | Cause | Solution |
|---|---|---|
| Air in the system | Improper bleeding process | Re-bleed the brakes |
| Contamination | Dirt or debris in the system | Flush the system and replace brake fluid |
| Mechanical problems | Worn-out brake pads or damaged rotors | Inspect and replace brake pads and rotors as needed |
Maintaining Your Brakes Post-Bleeding
After bleeding mountain bike brakes, it’s key to keep them in top shape. Regular cleaning, checks, and tweaks are vital. This helps avoid brake fluid spills and contamination. MTB disc brake bleeding is not just a one-time job; it’s an ongoing task.
Start by cleaning the brake pads and rotors often. This stops dirt and debris from messing with your brakes. Also, look over the brake lines and hoses for any damage or wear.
Don’t forget to check the brake fluid level and add more if needed. Bleeding mountain bike brakes needs fresh brake fluid. Use DOT fluid from sealed containers. Old brake fluid can absorb water and cause corrosion.
Here are some tips to keep in mind:
- Use the correct type of brake fluid for your brake system
- Avoid over-tightening bleed kit fittings
- Don’t overfill the brake system
- Regularly inspect and clean the brake pads and rotors
By following these tips and keeping up with brake maintenance, you’ll ensure your bike rides safely and smoothly. Remember, mtb disc brake bleeding is a critical part of mountain bike care. Doing it right is key to avoiding problems later on.
| Brake Fluid Type | Recommended Use |
|---|---|
| DOT Fluid | Most mountain bike brake systems |
| Mineral Oil | Certain brake systems, check manufacturer’s recommendations |
Professional Tips for Perfect Brake Feel
To get perfect brake feel, remember a few key tips. Make sure the bleed port on your lever is the highest point. The caliper’s port should be the lowest. This setup helps avoid bubbles in the line, which can harm your brakes.
Using the right bleeding technique is also crucial. Follow a step by step mtb brake bleed guide. This means removing air and adding new brake fluid. Use the correct tools and mountain bike brake maintenance fluids for the job.
Here are more tips to keep in mind:
* Always follow the manufacturer’s instructions for bleeding your brakes
* Use a clean and well-ventilated workspace to prevent contamination
* Avoid over-tightening the bleed kit fittings, as this can damage the o-ring and affect the seal
* Make sure to reset the brake pistons to their proper position before bleeding the system
| Tip | Description |
|---|---|
| Lever Adjustment | Adjust the lever to the correct position to ensure proper brake function |
| Pad Contact Point Optimization | Optimize the pad contact point to ensure proper brake performance |
| Break-in Procedures | Follow the recommended break-in procedures to ensure the brakes are properly bedded |
By following these tips and using the right methods and materials, you can get perfect brake feel. This ensures your mountain bike brake maintenance is top-notch.
When to Seek Professional Help
Knowing when to ask for help with bleeding hydraulic mtb brakes is key. If you’re not sure about anything or have tricky brake problems, a pro mechanic is your best bet. They can help you find the right brake bleeding kit and show you how to do it.
Look out for sticky pistons, air in the system, or contamination issues. If you see these, it’s time to get a pro’s help. They’ll make sure you’re safe on your bike.
A pro can also do a full brake check. This includes looking at pads, making sure everything is aligned, and making rotors true. This helps catch problems early and keeps your brakes working well.
Many bike shops have deals on brake services. For example, a TWO-FOR-ONE brake bleed special can save you money. It’s a good chance to get your brakes checked and keep safe on the trails.
| Service | Cost | Description |
|---|---|---|
| Brake Bleed | $45 | Includes inspection, pad spacing, rotor/calliper alignment, and rotor truing |
| Comprehensive Brake Service | Varies | Includes inspection, pad spacing, rotor/calliper alignment, rotor truing, and replacement of brake pads if necessary |
Bleeding hydraulic mtb brakes is a must for keeping your brakes in top shape. If you’re not sure about anything, it’s always best to get a pro’s advice.
Conclusion: Mastering Your MTB Brake Maintenance
Learning to maintain your mountain bike brakes is key for safety and performance. It takes patience, detail, and practice to get good at it. Knowing how to bleed mtb brakes is important, and a good mtb brake bleeding guide can help a lot.
Keeping your brakes in top shape means using the right brake fluid and not overfilling. Hydraulic brakes need no air to work right. By following the right steps and using the right tools, your brakes will always be ready.
Always use the brake fluid your bike needs, and change it every year. This keeps water out and your brakes working well. With time and effort, you’ll get the hang of mtb brake bleeding and keep your bike in top condition.

I am Ryan Ford, a mountain biking enthusiast who loves to explore the outdoors. I also like to go on adventures with friends and anything else that involves being outside. I love my bike because it gets me out of the house and gives me an opportunity to enjoy nature.

