
It is necessary to know how to center back wheel Trek 4300 mountain bike to ensure the overall performance of your bicycle. Centering the wheels correctly not only makes your ride smoother but also saves unnecessary wear on the components, including tires and drivetrain. With the rear wheel centered, your bike will ride better, with a more stable and comfortable ride over rough terrain.
Misalignment, however, may result in wobbling, accelerated tyre wear, and an unpleasant ride. Periodic checks and wheel adjustments keep your Trek 4300 in its best form.
Equipment You Will Need
Before you begin to adjust the back wheel, first make sure that you have all the tools within easy reach. You’ll need a wrench to loosen the rear axle bolts, but a bike stand, though not necessary, offers added security and stability in the process. If you do not possess a bike stand, you can set the bike safely on a flat surface.
A measuring tape or ruler is needed in order to ensure correct alignment of the wheel and equal centering in the frame. Having them ready will ease the task and avoid mistakes that may hamper the bike’s performance.
Preparing the Bicycle for Adjustment
First, place your bicycle on a flat, stable level or on a bicycle stand if you have one available. This keeps the bicycle stationary as you adjust the rear wheel, thus safer and more convenient. Stability gives confidence to safety against accidents during adjustment as well as easier precise wheel alignment. It is crucial that the bicycle remains upright and in balance, since movement can lead to misalignment or injury.
Ensure you double-check that the bike will not topple over and that there is enough space around it to make the adjustments easily.
Loosening the Rear Axle
After your bike is properly in position, loosen the bolts on the rear axle using the wrench. Don’t worry about taking the bolts all the way out yet; just loosen them so that the wheel will turn. Loosening the bolts too far runs the risk of losing pieces, so keep them loose in place, just slightly
loose so that the wheel can be adjusted. Loosely turn the bolts and make sure that both of them are loosened equally so that the back wheel will be able to move freely once you begin centering it.
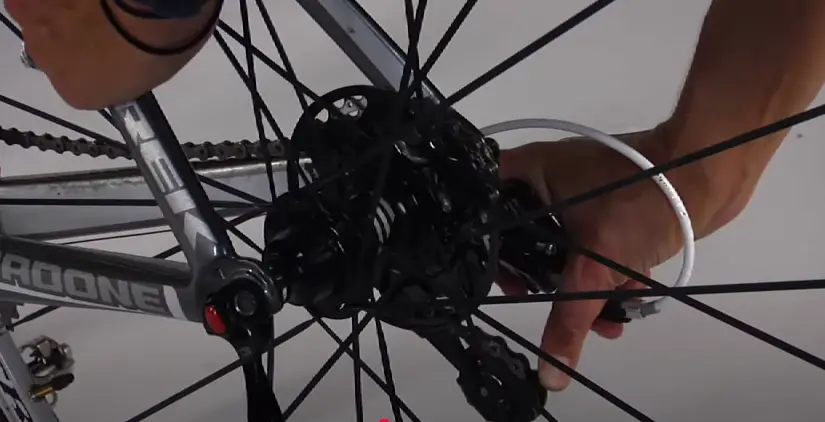
Align the Back Wheel
Now that the axle is loose, it is time to check the alignment of the back wheel in the frame. The wheel must be centered between the two chainstays. Visually inspect the alignment to make sure that the wheel is equidistant from both sides of the frame. Correct positioning is necessary to guarantee smooth and efficient rotation because any imbalance can cause rubbing against the frame or derailment issues.
Before continuing with the next step, make sure that the wheel is as straight as possible because any slight imbalances can affect the ride quality and safety.
Adjusting the Wheel Position
To set the back wheel alignment, tap the wheel slightly left or right to achieve proper alignment. Adjust slightly if necessary until the wheel is in the exact center of the frame. Measure using the ruler or tape measure from the wheel to each side of the chainstay, ensuring it is even. These figures will be referenced to obtain an even alignment.
Once the wheel appears to be in center, re-measure your measurements to ensure no slight variance will interfere with wheel spinning or cycling performance.
Locking the Rear Axle
It’s time to lock down the axle bolts now that the rear wheel is centered. Place the wrench and snug down each bolt to proper tightening without over-tightening. Overtightening will exert too much pressure on the axle or frame and cause damage.
Tighten both sides at the same time evenly to level them. Check that the wheel is secure after tightening to check if it is centered and firm. Once tightened fully, spin the wheel to check if it turns freely and smoothly.
Testing the Alignment
Once the rear axle has been tightened, spin the rear wheel by hand to check that it is properly centered and spins smoothly. Observe the wheel for wobble or drag, which may be indicative of the wheel still being out of alignment.
If the wheel does not spin freely or appears to be off-center, back off the axle bolts a bit and recenter the wheel until it spins with complete freedom and no problems. This is a procedure necessary to ensure that the alignment is correct before taking the bike for a ride, which makes it safer and enjoyable on the trails.
Common Issues and How to Fix Them
If the back wheel fails to stay centered or begins to move when the axle is tightened, then there may be an issue with the dropouts’ spacing or the state of the axle. Check the dropout for any type of damage or irregularity that will affect the wheel’s position.
Also, examine the axle itself for any type of wear or bend. If the axle is damaged, replace it. In some cases, the wheel will also need minor adjustments to its position within the frame. Timely resolution of these problems will preserve your bike in top shape and ensure the wheel stays well-centered.
Conclusion
The back wheel alignment should be checked regularly as part of fundamental bike maintenance. With age, components wear out, and wheels become misaligned, making the ride unpleasant and potentially affect bike safety.
By monitoring and aligning the wheel through routine checks, you are ensuring a smoother and more effective ride experience. This not only protects your bike parts from unnecessary wear, but also improves overall bicycle performance so your rides will be safer and more enjoyable. Add centering your back wheel to your routine maintenance to guarantee top performance over the long term.

I am Ryan Ford, a mountain biking enthusiast who loves to explore the outdoors. I also like to go on adventures with friends and anything else that involves being outside. I love my bike because it gets me out of the house and gives me an opportunity to enjoy nature.