Removing MTB pedals is easy with the right tools and steps. This guide will show you how to do it right. You’ll learn about the tools needed and how to avoid common issues.
For mtb pedal removal, having the right tools is key. You’ll need a pedal wrench or 15mm spanner and an Allen key. It’s also important to know how to loosen the pedals correctly to avoid damage.
To remove pedals safely, follow these steps. Secure your bike, find the right tool interface, and use the correct technique. With these tips and the right tools, you’ll be able to remove mtb pedals easily.
Key Takeaways
- Use the correct tools, such as a pedal wrench or 15mm spanner and an Allen key, for mtb pedal removal.
- Understand the thread orientation to loosen the right pedal (counterclockwise) and the left pedal (clockwise).
- Follow the correct steps for safely removing pedals to avoid accidents or damaging the bike.
- Apply grease or anti-seize compound to the threads to prevent stuck pedals and cross-threading mistakes.
- Regularly check pedal tightness to maintain optimal performance and prevent damage to the crank arm.
- Use a step-by-step mtb pedal removal guide to make the process easier and more efficient.
Understanding MTB Pedal Basics
Removing mountain bike pedals is easier if you know the basics. A good guide will show you the different types of pedals. This includes clipless and flat pedals.
Before you start, it’s key to know the pedal thread direction. The right pedal loosens counterclockwise, and the left loosens clockwise. Getting this wrong can harm the pedals or the bike.
Types of MTB Pedals
There are mainly two types of MTB pedals: clipless and flat. Clipless pedals need special shoes with cleats. Flat pedals have a platform for your feet. Knowing your pedal type is important for safe removal.
Pedal Thread Direction Explained
The pedal thread direction is crucial. The right pedal loosens counterclockwise, and the left loosens clockwise. Remembering this helps avoid damage.
Why Proper Removal Matters
Removing MTB pedals correctly is vital. Improper removal can cause cross-threading. This can harm the threads in the crank arm and be dangerous while riding. A good guide will stress the need for proper removal.
By following a reliable guide and understanding MTB pedals, you can remove them safely. Always check the “L” and “R” markings to avoid mistakes. Also, apply grease or anti-seize compound to make future removals easier.
Essential Tools for Removing MTB Pedals
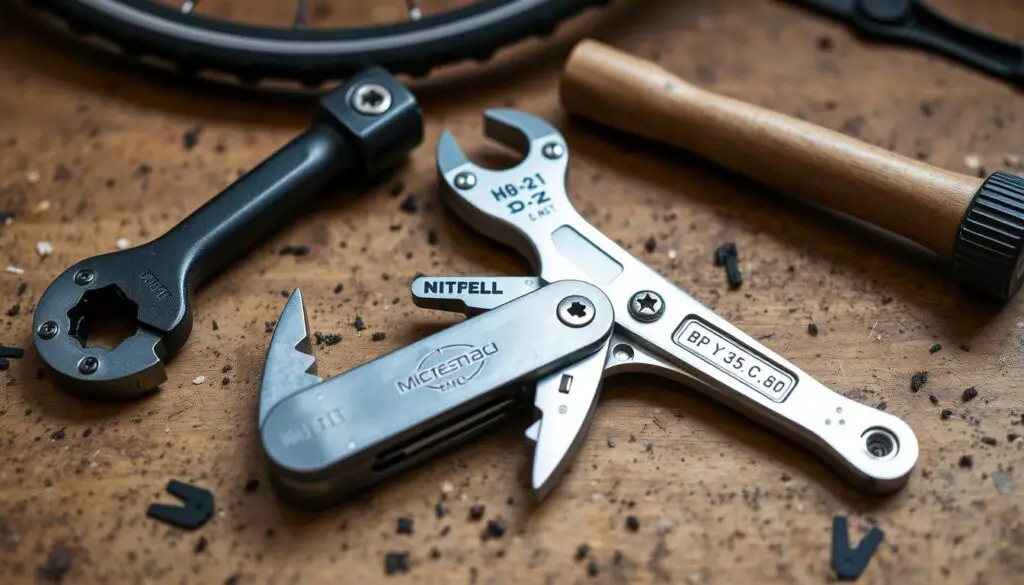
Removing MTB pedals needs the right tools for a quick mtb pedal removal. You don’t want to damage the pedals or the bike. Use a pedal wrench or a 15mm spanner, and an Allen key.
The Allen key size depends on the pedal type. For example, Funn Ripper, Funndamental, Mamba, and Mamba S pedals need an 8mm Allen key. Python and Black Magic pedals need a 6mm Allen key.
Here are some essential tools to keep in mind:
- Pedal wrench or 15mm spanner
- Allen key (8mm or 6mm)
Using the right tools and following the correct procedure is key. It ensures a quick mtb pedal removal and keeps your bike in top shape. By following these tips and using the best way to remove mtb pedals, you can avoid common mistakes and keep your bike in good condition.
| Tool | Description |
|---|---|
| Pedal wrench | Used to remove pedals with 15mm threads |
| Allen key | Used to remove pedals with 8mm or 6mm threads |
Safety Precautions Before Starting
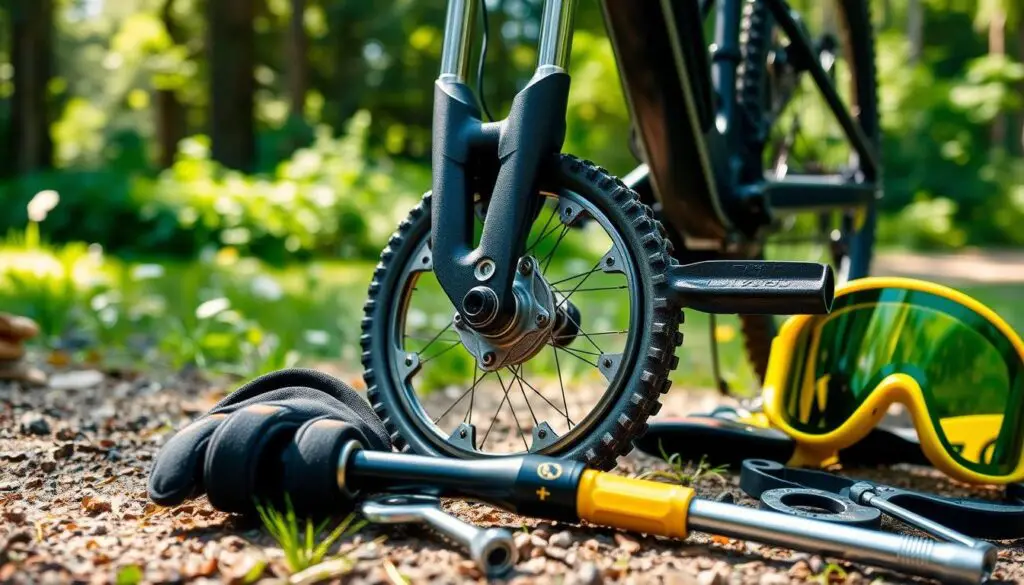
Before you start to remove your MTB pedals, it’s key to take safety steps. This helps avoid injuries and bike damage. Make sure your bike is in the right spot, wear protective gear, and have a safe area to work. These steps help make the process safer and smoother.
Experts say wearing gloves and safety glasses is crucial. Also, keep your workspace clean and bright. Have all tools ready, like a foot-long wrench. A bit of bicycle grease on the pedal threads helps during installation.
Some important safety tips include:
- Place your bike on a flat surface to prevent it from tipping over
- Wear gloves and safety glasses for protection
- Make sure your workspace is safe and has all tools and materials nearby
By following these safety tips and expert advice, you can remove your MTB pedals safely. Always put your safety and bike’s well-being first. If you’re unsure, it’s best to get professional help.
| Safety Precaution | Importance |
|---|---|
| Wearing personal protection equipment | High |
| Ensuring a safe workspace | High |
| Positioning the bike correctly | Medium |
How to Remove MTB Pedals: The Basic Process
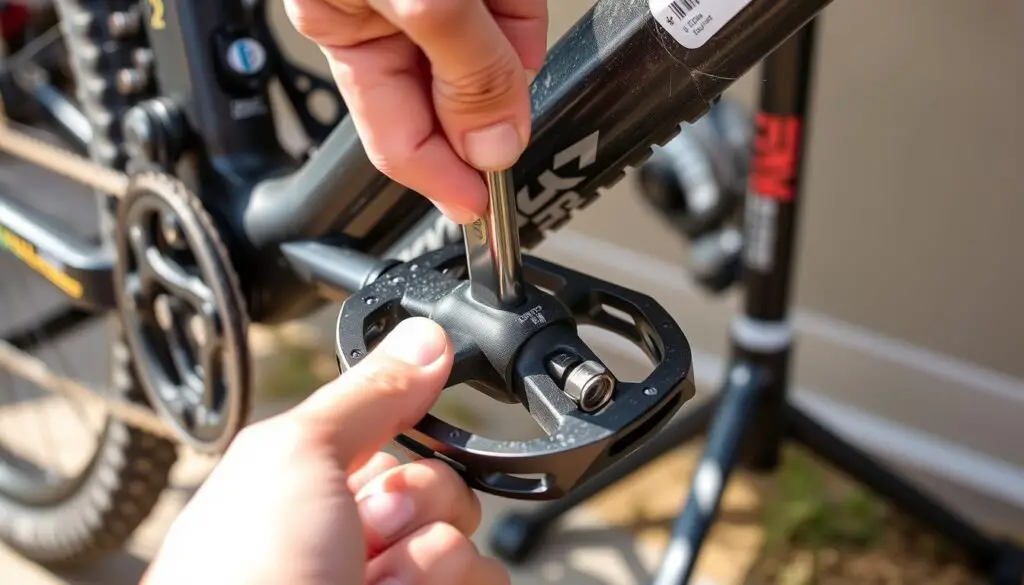
Removing MTB pedals might seem hard, but it’s easy with the right tools and knowledge. First, loosen the pedals with a pedal wrench or Allen key. Most pedals need a 6 or 8 mm Allen key for removal.
The non-drive side pedal has a reverse thread, while the drive-side has a standard thread. So, turn the non-drive side counterclockwise and the drive-side clockwise. Using the correct technique and tools will help prevent damage to the pedals or the bike’s crank arms.
- Loosen the pedals using a pedal wrench or Allen key
- Remove the pedals from the bike’s crank arms
- Apply anti-seize grease to the pedal threads for easier removal in the future
When removingmtb pedals, follow the manufacturer’s torque guidelines. This ensures the pedals are securely attached and prevents damage to the crank arms.
Remember to always thread pedals in easily, without resistance. If you feel any resistance, stop and try again to avoid cross-threading the pedals.
By following these steps and using the right tools, you can easily remove your MTB pedals. Regular maintenance, like lubricating the pedal threads and checking tightness, keeps your pedals in good shape. This makes them easy to remove when needed.
Understanding Pedal Thread Direction
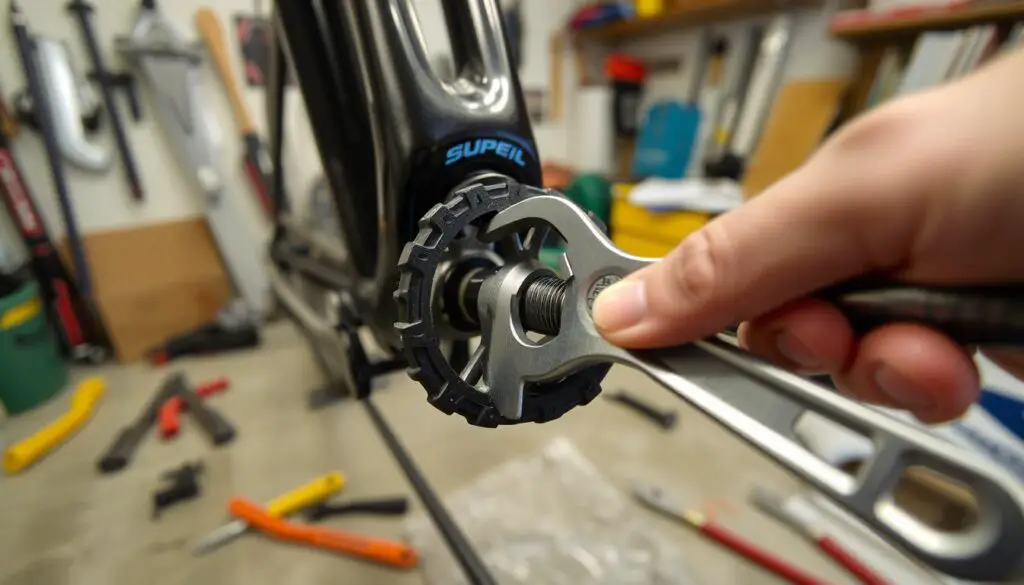
When you’re step-by-step mtb pedal removal, knowing the pedal thread direction is key. The left and right pedals thread differently. This can be tricky for those new to removing mountain bike pedals.
The left pedal tightens counterclockwise, while the right tightens clockwise. It’s vital to get this right. Tightening the wrong way can harm the threads or strip the pedals.
Here are some important points about pedal thread direction:
- Left pedals have a left-hand thread, tightening counterclockwise.
- Right pedals have a right-hand thread, tightening clockwise.
- Most pedals are marked with an L or R to show left or right side.
Knowing the pedal thread direction helps you remove mountain bike pedals safely and right. This is crucial for step-by-step mtb pedal removal. You want to avoid damaging the pedals or the bike.
| Pedal Type | Thread Direction |
|---|---|
| Left Pedal | Left-hand thread (anti-clockwise) |
| Right Pedal | Right-hand thread (clockwise) |
Dealing with Stuck Pedals
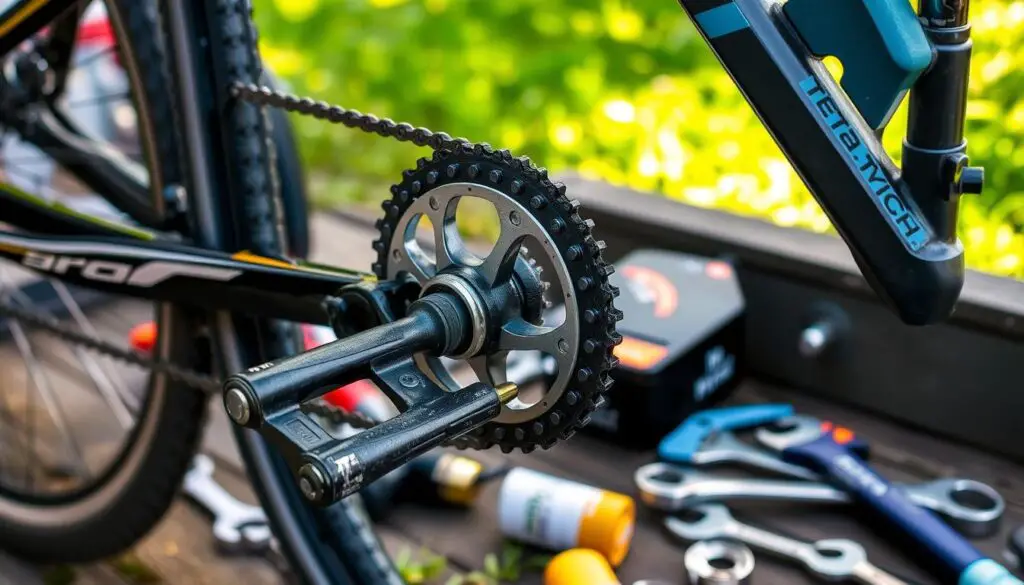
When you’re trying to remove mtb pedals, you might run into stuck pedals. It’s a common problem, but there are ways to fix it without harming your bike. The key is to be patient and use the right methods.
One effective way to deal with stuck pedals is to use penetrating oil or heat. Experts suggest applying products like PB B’Laster or WD40 and waiting 10-20 minutes. If the pedals still won’t budge, you might need to remove the crank arm and use a bench vice.
Here are some tips to keep in mind when dealing with stuck pedals:
- Avoid using too much force to prevent damage to the pedals or bike.
- Apply penetrating oil from both sides of the pedal spindle for better results.
- Consider using a thread tap on clean threads to prevent galling.
If the pedals are really stuck, try heating the aluminum crank until it sizzles. Also, tie the opposite crank to the bicycle frame to make turning the wrench easier. By following these steps and using the right tools, you can remove stuck pedals safely and avoid expensive bike repairs.
The main goal is to remove mtb pedals safely and efficiently. With the right tools and approach, you can overcome the problem of stuck pedals and keep your bike in top shape.
| Tool | Description |
|---|---|
| Penetrating Oil | Helps loosen stuck pedals by breaking the bond between the pedal and the crank arm. |
| Bench Vice | Used to securely hold the crank arm in place, making it easier to remove stuck pedals. |
Using Penetrating Oil and Heat Methods
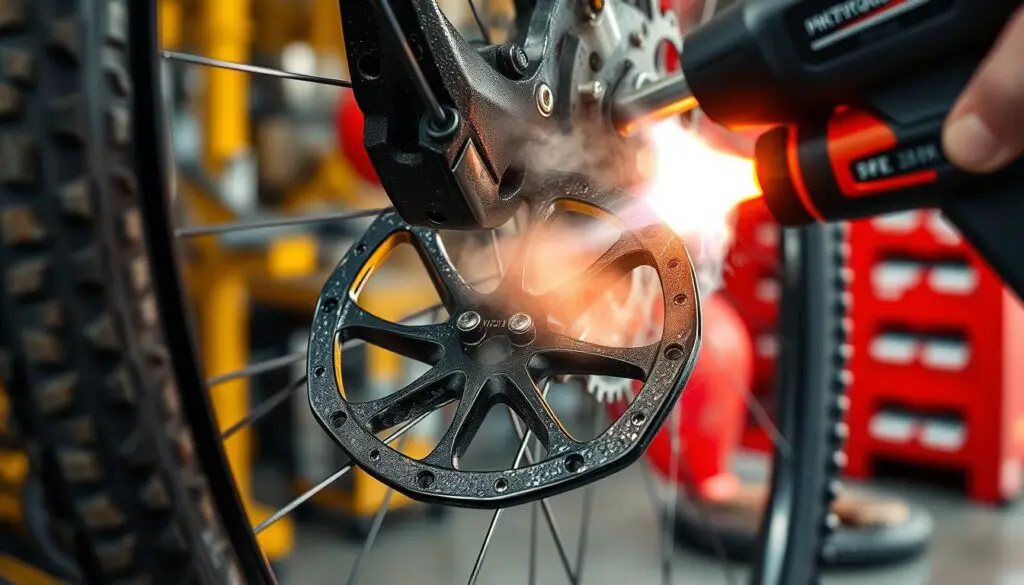
When pedals get stuck, quick mtb pedal removal is possible with penetrating oil and heat. These methods help loosen the pedals, making them easier to take off. For easy mtb pedal removal techniques, apply penetrating oil to the stuck area. This lets it seep into the threads and break down any corrosion or grime.
A heat gun or hot water can also help by changing the material’s properties. Heating to above 550F / 260C can make high-strength thread retainers easier to remove. But, be careful not to damage the pedals or the bike.
Applying Penetrating Oil
Penetrating oil can be applied directly to the stuck area. It seeps into the threads and loosens any corrosion or grime. This method is often effective for quick mtb pedal removal.
Safe Heat Application
When using heat to loosen stuck pedals, apply it safely. Avoid damaging the pedals or the bike. A heat gun or hot water can be used, but be careful not to overheat the area.
| Method | Description |
|---|---|
| Penetrating Oil | Apply penetrating oil to the affected area to loosen corrosion or grime. |
| Heat Gun | Use a heat gun to loosen stuck components by changing material properties. |
| Hot Water | Soak the affected area in hot water to loosen stuck components. |
By using penetrating oil and heat, easy mtb pedal removal techniques can be achieved. This makes it easier to remove stuck pedals and get back to riding.
Common Mistakes to Avoid
Removing MTB pedals can be tricky. Using the wrong tools or applying too much force can damage pedals or strip threads. To avoid these issues, follow expert tips for removing mtb pedals and prepare pedals properly.
Some common mistakes include:
- Not remembering the correct direction to loosen the pedals, which can lead to stripped threads or damaged pedals.
- Not using grease on the pedal threads, which can make removal more difficult.
- Using too much force, which can damage the pedals or the bike frame.
By followinghow to remove mtb pedalsguides and taking precautions, you can avoid these mistakes. This ensures a safe and successful removal process.
Knowing these potential pitfalls helps you avoid them. Always follow expert tips for removing mtb pedals and take your time with your bike’s components.
| Mistake | Consequence | Prevention |
|---|---|---|
| Using the wrong tools | Damaged pedals or stripped threads | Use the correct pedal wrench size (15mm, 8mm, or 6mm) |
| Applying too much force | Damaged pedals or bike frame | Use penetrating oil and let it sit for 10 minutes before retrying |
Professional Tips and Tricks
Removing MTB pedals can be easier with the right techniques. A good guide will teach you about leverage and tool placement. Start by learning the basics of pedal removal and the best methods.
Using the right tools, like a 15mm pedal wrench, is key. You also need to apply the right amount of force. This ensures you don’t damage the pedals or the bike frame.
Leverage is crucial when removing pedals. It helps avoid damage to the pedals or the bike. If a pedal is stuck, use penetrating oil and wait a few minutes before trying to remove it. Remember, the left pedal is reverse threaded, so turn it clockwise to loosen.
Leverage Techniques
- Use a long-handled wrench to provide extra leverage
- Apply penetrating oil to loosen stuck pedals
- Use a rubber mallet to tap the pedal gently
Tool Positioning
Proper tool placement is also important. Position the wrench or tool for maximum leverage and control. This prevents accidents and ensures a safe removal process.
By following these tips, you’ll remove your MTB pedals easily and confidently. You’ll use the best methods and a reliable guide.
Maintenance Tips for Easy Future Removal
Regular maintenance is key for easy MTB pedal removal. A few simple tips can save you time and effort later. Keeping your pedals clean is crucial. Regular cleaning stops dirt and grime buildup, making removal easier.
Proper installation is also vital. When installing, grease the threads and tighten snugly but not too tight. This prevents pedals from getting stuck, making removal simpler. Using anti-seize applications also prevents corrosion and makes removal easier.
Here are some more tips to remember:
- Regularly check your pedals’ tightness, after long rides
- Use a pedal wrench or Allen key to loosen and tighten
- Apply penetrating oil to loosen stuck pedals
By following these expert tips, your pedals will be easy to remove and install. This saves you time and effort in the long run.
When to Seek Professional Help
Removing MTB pedals is usually easy, but sometimes you need a pro. If you’re not sure how to remove mtb pedals or if they’re really stuck, get a mechanic’s help. They know the best way to mtb pedal removal and make sure it’s done right.
Here are some times when you should get a mechanic:
- Severely stuck pedals that can’t be removed with usual tools
- Not sure about the pedal type or how to remove it
- Don’t know much about bike maintenance or repair
A mechanic can check the situation and help remove the pedals safely. They can also teach you how to remove mtb pedals and give tips for future problems.
Getting professional help keeps your bike in top shape. This way, you can ride safely and enjoy the ride. Always use the right torque, like 360 inch-pounds or 40.5 Newton meters, to avoid damage.
Conclusion
Removing MTB pedals is easy with the right tools and steps. This guide shows you how. It covers the basics of MTB pedals and how to use tools without damaging them.
Follow the guide’s steps and tips to remove your pedals safely. It’s good for both new and experienced cyclists. Always use the right tools and follow safety rules to avoid harm or damage.
For easier future removals, apply anti-seize to the threads and clean the pedals often. With practice, you’ll get better at removing and installing pedals. Soon, you’ll be back on the trails, enjoying your pedals with smoother bearings.

I am Ryan Ford, a mountain biking enthusiast who loves to explore the outdoors. I also like to go on adventures with friends and anything else that involves being outside. I love my bike because it gets me out of the house and gives me an opportunity to enjoy nature.

