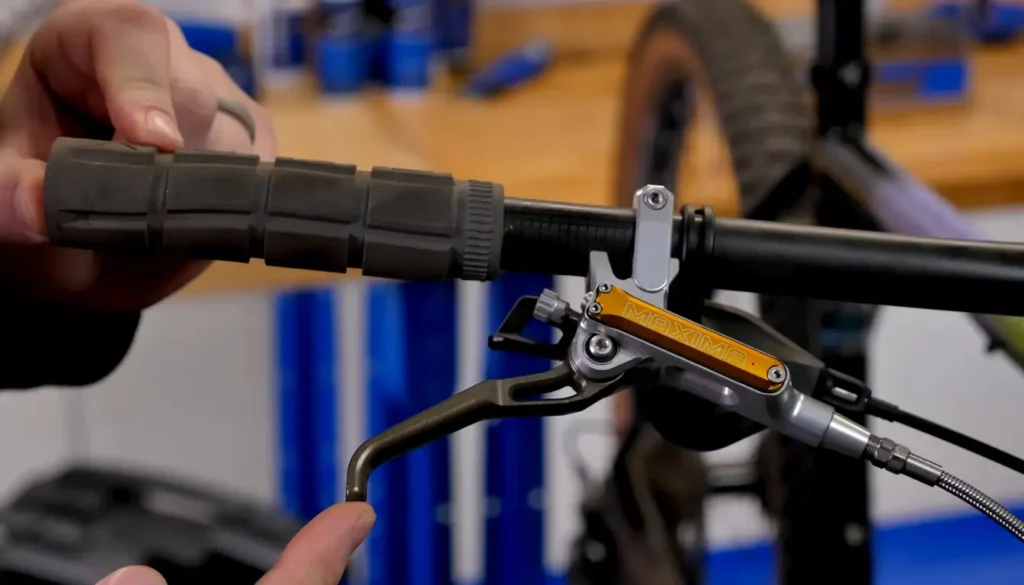
Bleeding mountain bike brakes are a common problem that often stops abruptly. To prevent this from happening, you should bleed your brakes regularly to keep them functioning at their best. But how to understand when to bleed mountain bike brakes?
When you feel your brakes aren’t working as well as they should, like spongy or frequently stopping without your command, that’s the time when you need to bleed your mountain bike brakes. However, a few more factors will determine when you need to bleed your brakes, such as the type of mountain bike you are riding and how often you ride it.
To know in detail, you must be with me until the end. Beauce, I have designed this article to cover all the questions a mountain biker may have related to mountain bike brake bleeding, including the cost and procedure of bleeding mountain bike brakes, as well as tips on how to do it yourself if you don’t have a bleeding kit. So let’s scroll down and explore more.
When To Bleed Mountain Bike Brakes?
Knowing when to bleed your brakes can save you time and hassle. Brake fluid leaves contamination around the brake caliper, and with time this brake fluid makes the brake non-precise, and you end up pulling the brake all day long.
To keep your brakes in good condition and allow them to perform their best, you need to bleed your mountain bike brakes. But when to bleed mountain bike brakes?
Well, usually mountain bike brakes need to bleed after 50 hours of ride, but it also differs depending on which type of mountain bike you are riding, and how often you ride it. Let’s know below through a table.
| Bike Type | Riding Frequency | Bleeding Time |
| Cross Country | Very often ( 3-5 times a week) | Once in a 6 month |
| Cross Country | Often ( 1-2 times a week) | Once in a year |
| Cross Country | Frequently ( 1-3 times a month) | Once in a two year |
| Downhill | Very often (3-5 times a week) | Once in a 4 month |
| Downhill | Often (1-2 times a week) | Once in a 6 month |
| Downhill | Frequently (1-3 times a month) | Once in a year |
Note: Sometimes brake fluid gets leaked, this can be also a reason you need to bleed the brake and at that time how many miles or months you have ridden the bike doesn’t matter.
How Much Does It Cost To Bleed Mountain Bike Brakes?

Bleeding your mountain bike brakes is not a difficult task, but still, it costs you money. And if you avoid doing it, it will cost you more by causing wear and tear on the brake. It’s better to spend a little money after brake bleeding than to spend a lot more to buy new brake pads and endure the unnecessary hassle.
Though you can bleed mountain bike brakes at home with a kit or a few tools if you don’t have enough time you can get it done by professionals.
From doing it yourself to professional, bleeding mountain bike brakes can cost you an average of $16 to up to $100. If you do it yourself it will cost between $16-$25. And if you take it to a professional, it can cost you from $30 to up to $100, depending on your bike model and making. Some expensive bike brake bleeding costs more than $100 too.
So whether you choose to do it yourself or by a professional, don’t forget to bleed the brakes after 50 hours of ride to keep them in good condition.
How Long Does It Take To Bleed Mountain Bike Brake
Bleeding mountain bike brakes is a necessary task that every rider should know how to do. But before you know how to bleed mountain bike brakes, you need to know how long it takes to bleed mountain bike brakes. Well, mountain bike brake bleeding time differs from person to person, depending on their skills.
If you are inexperienced or new to bleeding mountain bike brakes, it can take you up to 30 minutes. But going to a professional won’t take more than 5 minutes.
How Do You Bleed Mountain Bike Brakes By Yourself?
Bleeding a mountain bike brake is simple; all you need is a few tools or a mountain bike brake bleeding kit, and you can do brake bleed yourself without even taking help from another person. How? Follow the below instructions and bleed your mountain bike Shimano brakes in less than an hour to ensure your brakes are in good condition.
- To make the work easier, start by mounting the bike on a stand and adjust the brake lever, so the hole for the bleed screw is slightly level.
- Take help from a screwdriver and push the piston. Now, you can easily pull out the brake pad and insert the Shimano bleed block.
- Then use an Allen key to lose the brake lever and rotate it horizontally, facing towards the ground tightly.
- Next, remove the bleed port screw and the small o-ring.
- Now put the Shimano bleed cup into the bleed port by rotating it clockwise. Be gentle, you can simply strip the threads without putting force.
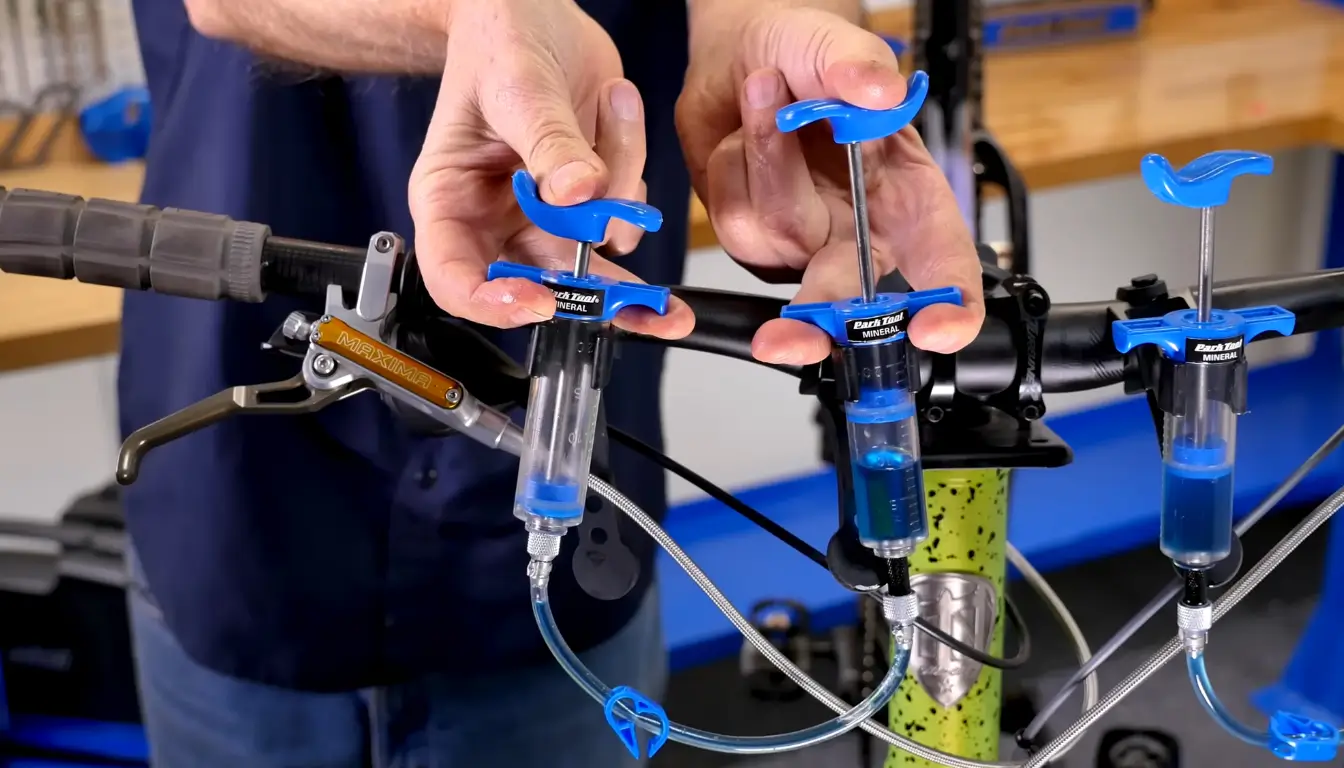
- It’s time to squeeze the air bubbles. Remove the dust cover from the bleed nipple of the caliper. Fill the bleed syringe with mineral oil, connect it with a bleed hose, and try to remove the air bubbles from the caliper.
- Insert a ring spanner into the bleed nipple and attach it to the other end of the bleed hose or bleed valve.
- You should turn Allen keys and spanners anticlockwise a quarter turn for all brakes. Push oil through the system with the syringe. Immediately stop and close the bleeding nipple or valve. Then remove the syringe from the hose end put the hose in a bag, pointing downward, and secure it with a zip tie. But be careful not to clamp it shut. Once done, open the bleed nipple/valve.
- Once half of the mineral oil in the bleed cup is drained out, close the valve. Then pump the brake lever a few times. Repeat the process; you may need to repeat it four times to bleed the brakes completely.
- Now, close the bleed nipple and remove the bleed hose.
- If there are any bubbles in the brake hose, tap them all. The brake lever must be flicked a few times and then released. Repeat the technique with the brake lever tilted forward and backward by 30 degrees. Then, bring the lever back to a horizontal position.
- Remove the bleed cup and install the plastic plug. Then reinstall everything you have removed, including the bleed port screw, o-ring, and bleed block. Make sure you have not secured them too tightly.
- Finally, use a paper towel and clean the brake caliper. Now, you can reinstall your brake pads wheel, and pump to check whether the brake lever is firm or not.
(Tips: Be sure to release all pressure from your brake hand after bleeding – this will help ensure a leak-free job)
Bleeding mountain bike brake is not a regular task. If you are a regular rider, you can still ride without bleeding brakes for a minimum of 4 months or 50 hours. And if you don’t know whether you need to bleed the brake or not, or any modification or repair, always consult a professional before attempting it yourself.
How To Bleed Mountain Bike Brakes Without Kit
Mountain bike braking is a crucial part of riding, and bleeding the brakes regularly is essential for keeping them in good condition. But is it possible to bleed without any kit? If yes, then how to bleed mountain bike brakes without a bleed kit?
Well, bleeding your mountain bike brakes without a kit is possible, but still, you will need a few tools like a funnel and brake fluid.
First, you must remove the plug from the master cylinder at the handlebar. Then you have to remove the brake unit plug of the wheel. Install the funnel into the brake unit, pouring about 5cc of brake fluid inside. If you have a hand brake system, gently pump the lever (pull and hold for a few seconds). Continue this process until you have reached the desired lever stiffness (~3 minutes). Once done, remove the funnel and put back all the bleed screws you have removed. Use a rag dampened in alcohol or brake cleaner and wipe down the brake fluid/hydraulic fluid. Then keep the brake lever in its back position, and it’s done!
Bleed your mountain bike brake when needed, and you’ll be on your way to safety on the trails for mountain biking! It helps to prevent the pad from sticking and allows the brakes to work more efficiently with more braking power.

I am Ryan Ford, a mountain biking enthusiast who loves to explore the outdoors. I also like to go on adventures with friends and anything else that involves being outside. I love my bike because it gets me out of the house and gives me an opportunity to enjoy nature.

