Bedding in your mountain bike brakes is key for top performance and safety. When you swap out brake pads or rotors, it’s vital to remove any glaze or dirt. This ensures your brakes work their best. The steps to bed in your brakes include cleaning the rotor and applying and releasing the brakes many times.
Knowing how to bed in your brakes is important for any mountain bike lover. The process usually means doing the braking action 20 – 50 times for each wheel. It’s important to follow the right steps for your brake brand, like SRAM, Hayes, or Magura.
Key Takeaways
- Proper brake bedding is essential for optimal performance and safety
- The mountain bike brake bed in process involves cleaning the disc brake rotor and repeatedly applying and releasing the brakes
- Different brake brands have varying recommendations for the bedding-in process
- Learning how to bed in brakes mtb is a straightforward process
- It’s crucial to follow the recommended process for your specific brake brand
- The process typically involves repeating the braking procedure 20 – 50 times for each wheel
Understanding the Importance of Brake Bedding for Mountain Bikes
Brake bedding is key for mountain bikes to perform well. It makes the brake pads and rotors work together perfectly. During this time, small issues are smoothed out, making the bike safer and more effective.
When bedding in mountain bike brakes, patience is crucial. You need to brake 20-30 times on a steep hill without stopping. This ensures the pads fit right and work well.
Important things to remember when bedding in mountain bike brakes include:
- Choosing the right brake pads for your ride
- Keeping pads clean from oil or grease
- Doing regular maintenance for best brake performance
By following thesesteps to bed in mtb brakes, mountain bikers can ride safer and better on trails.
Essential Tools and Materials Needed
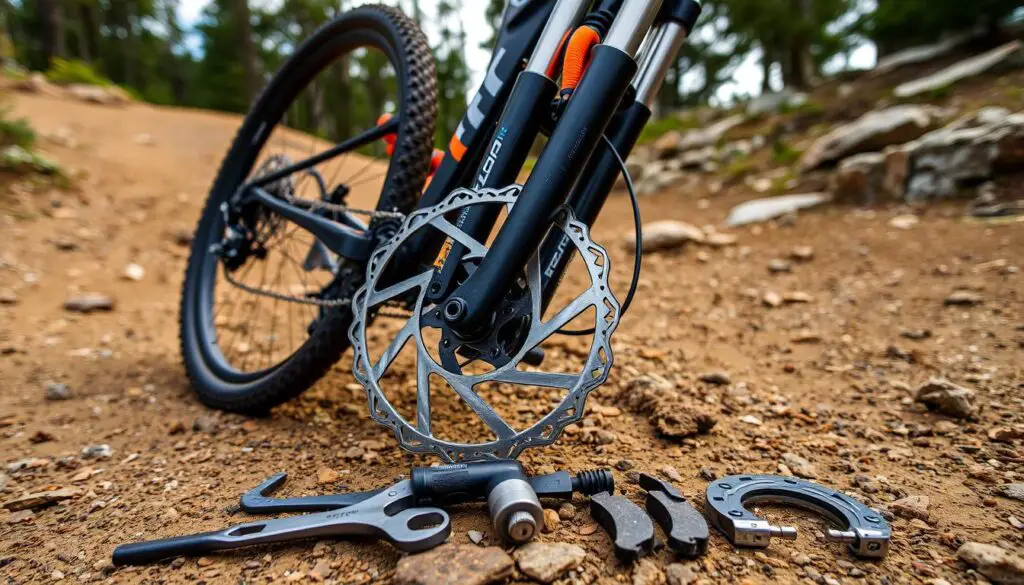
For mountain bike brake rotor break-in, the right tools and materials are key. Experts say pads and rotors must be clean for best performance. This shows how important the right tools are for the bedding-in process.
To do a good mountain bike brake rotor break-in, you’ll need a few things:
- Clean and spotless brake pads and rotors
- A soft brush for cleaning the rotors
- A clean cloth for wiping down the brake components
- A torque wrench for proper brake alignment
Also, a mountain bike brake rotor break-in method is suggested. It involves gentle braking on a downhill slope. This helps transfer pad material to the rotors for better friction.
With the right tools and materials, and a proper mountain bike brake rotor break-in method, you can ride safely and well on trails.
| Tool/Material | Description |
|---|---|
| Brake pads | Should be clean and spotless |
| Rotors | Should be clean and spotless |
| Soft brush | For cleaning the rotors |
| Clean cloth | For wiping down the brake components |
| Torque wrench | For proper brake alignment |
Preparing Your Mountain Bike for Brake Bedding

To get the most out of brake bedding, your mountain bike needs to be ready. This means checking your brake pads, cleaning the rotors, and making sure the brakes are aligned right. By doing these steps, you’ll make your bike safer and perform better.
First, look at your brake pads for wear or damage. Worn-out brake pads can hurt your brakes’ performance. If they’re damaged, swap them out for new ones. Also, clean the rotors to get rid of dirt or debris that could mess up the bedding process.
Checking Brake Pad Condition
Look for signs of wear on your brake pads, like thinning or cracks. If they’re damaged, it’s time to get new ones. This ensures your brakes work their best.
Cleaning the Rotors
Use a soft cloth and mild detergent to clean the rotors. This removes dirt and debris. It helps the bedding process go smoothly and keeps the rotors safe.
Ensuring Proper Brake Alignment
Make sure the brake calipers are lined up with the rotors. If they’re not, your brakes won’t work right. By following these steps, you’ll get great brake performance and safety.
How to Bed In Brakes MTB: The Complete Process
To get the best out of your brakes, you need to bed them in right. Experts say you should do 20-30 stops for mountain biking. This makes your brakes work better, last longer, and stop squealing.
The goal of bedding-in is to heat up the brakes. This creates a layer of brake pad material on the rotor. To do this, repeat the process 15-30 times. Here are some steps to follow:
- Start with slow, gentle stops to warm up the brakes
- Then, make the stops more intense to build up heat
- Don’t stop completely, as it cools the brakes down
Different brake pads need different approaches. For example, sintered pads need more heat to work well.
By following these steps, you’ll make sure your brakes are in top shape. Always check the manufacturer’s guide and be safe when working on your brakes.
Finding the Perfect Location for Brake Bedding
Choosing the right spot for brake bedding is key. You need a place that’s safe and free from cars. This spot should let you speed up and slow down many times. This helps move the braking material to the pads and rotors, making your brakes work better.
Look for a smooth, flat area for brake bedding. A gentle slope or a flat spot with few obstacles is best. This lets you focus on braking without worrying about tough terrain.
Terrain Requirements
Here are some terrain tips to keep in mind:
- Stay away from steep hills and sharp turns. They’re risky during brake bedding.
- Choose a surface with good grip, like asphalt or a smooth dirt path.
- Avoid places with loose gravel or sand. They can make your bike unstable.
Safety Considerations
Always put safety first when bedding in your brakes. Make sure you have a safe way out if needed. Also, watch out for other cyclists, pedestrians, or animals around.
Weather Conditions
Weather can affect brake bedding. Don’t do it in the rain or when it’s icy. Instead, pick a dry, calm day with little wind.
By picking the right spot and considering terrain, safety, and weather, you’ll bed in your brakes well. This ensures a smooth and safe ride.
Common Mistakes to Avoid During Bedding
When you’re bedding in your mtb brakes, it’s key to steer clear of common errors. Stopping abruptly can cause the brake pads to wear unevenly. This can hurt your brakes’ performance. So, it’s best to slow down gradually, letting the pads wear down the rotors evenly.
It’s also important to brake smoothly and consistently. This prevents the pads from wearing out too fast. Plus, keep an eye on the heat during bedding. Too much heat can harm the pads and rotors.
- Coming to a complete stop
- Uneven braking
- Insufficient cooling time
- Not monitoring heat
By avoiding these mistakes and following the right steps, you’ll get the best out of your brakes. This way, your brake pads and rotors will last longer.
Regular brake maintenance, like flushing brake fluid every 2-3 years and replacing pads when they’re worn down, keeps your brakes working well.
Signs of Successful Brake Bed-In
After following the mountain bike brake pad break-in tips, it’s key to know when it’s done right. You’ll notice your brakes working better with each use. A well-bedded brake system is vital for safety and performance.
There are clear signs of a brake bed-in job well done. Look for visual indicators like a light blue tint on the rotors. This shows the right temperature was reached. Also, a blue film on the rotors after bed-in means the pads are ready for top performance.
Visual Indicators
Some visual signs of a good brake bed-in include:
- A uniform color on the brake pads and rotors
- A smooth, even surface on the brake pads and rotors
- A blue transfer film on the rotors after a bed-in cycle
Performance Markers
Improved braking power and modulation are performance signs of a good bed-in. Your brakes will feel more responsive and consistent.
Sound Characteristics
Lastly, a quieter brake system is another sign of a successful bed-in. By paying attention to these signs, you can be sure your mountain bike brakes are working well and safely.
Maintaining Your Bedded Brakes
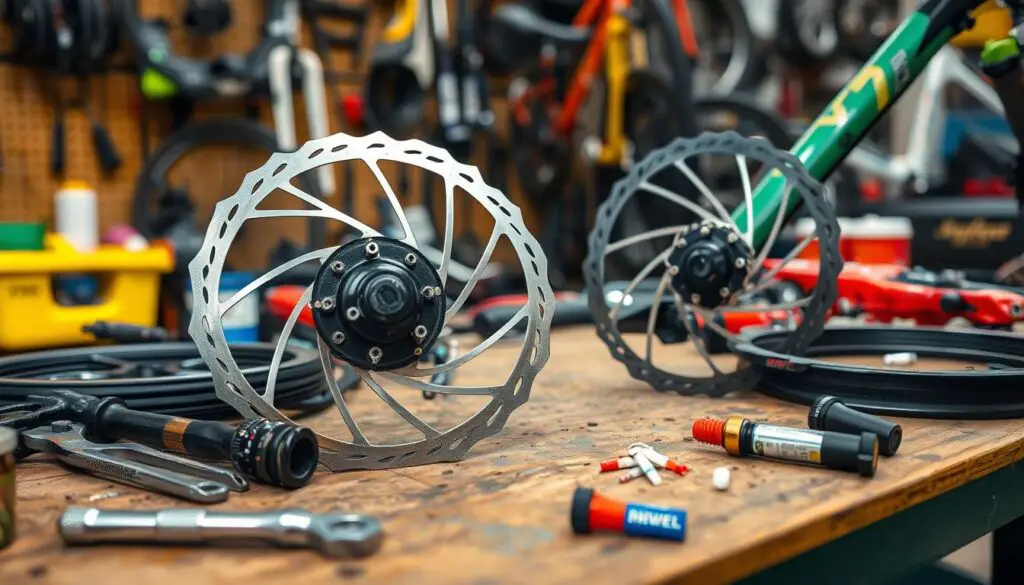
To keep your mountain bike brakes working well, it’s key to follow best practices for bedding in mtb brakes. Regular checks and upkeep are vital to make your brake pads and rotors last longer. Experts say that brakes work best after they’ve been bedded in and the surfaces are fully matched.
When looking after your bedded brakes, there are a few important things to remember.
Regular Inspection Tips
Check the brake pad condition, rotor thickness, and brake alignment regularly. Also, clean the rotors and brake pads often to avoid dirt and ensure good braking.
Also, it’s crucial to know
When to Repeat the Process
. It’s wise to redo the brake bedding-in when you change brake pads for the best results. Organic/resin pads bed in quicker than Sintered pads. Brake rotors usually last for 2-3 sets of brake pads. By sticking to these best practices, your mountain bike brakes will always be in great shape.
Some extra tips to keep in mind include not stopping completely until brakes are fully bedded in. Use soft materials for cleaning and resurface brake discs to speed up the bed-in process. By following these tips and keeping up with maintenance, you’ll have safe and reliable braking on your mountain bike.
Troubleshooting Brake Bedding Issues
When dealing with mountain bike brake rotor break-in, it’s key to fix common problems for the best performance. If your pads look glazed, try sanding them and start the bedding-in again. This makes sure your brakes work well right from the start, avoiding issues like vibration, noise, and poor control.
Some common problems during mountain bike brake rotor break-in include:
- Glazed or contaminated pads
- Uneven pad transfer layer on the rotor
- Poor brake modulation
- Loud squealing noises
To fix these issues, keeping a consistent layer on the rotor is crucial. Not doing so can cause less power, vibration, and loud noises. Sometimes, sanding the pads and cleaning with rubbing alcohol can help if pads are glazed or dirty.
By following the right bed-in steps, like those from SRAM or Shimano, and solving common problems, you can make sure your mountain bike brake rotor break-in goes well. Always check your brake maker’s advice for specific steps and tips.
Conclusion
Bedding in your mountain bike brakes is key for top performance and safety. It’s important to bed in new pads and rotors for the best brake performance. Learning how to do this right is crucial.
Keeping an eye on your brake pads and cleaning them regularly is important. This helps your brakes work well. Disc brakes need proper alignment and regular checks to last longer and work better.
Whether you have hydraulic or mechanical disc brakes, bedding them in is vital. It makes sure the brake pads and rotors make good contact. By learning how to do this and keeping your brakes in good shape, you’ll ride with more confidence and control.

I am Ryan Ford, a mountain biking enthusiast who loves to explore the outdoors. I also like to go on adventures with friends and anything else that involves being outside. I love my bike because it gets me out of the house and gives me an opportunity to enjoy nature.

