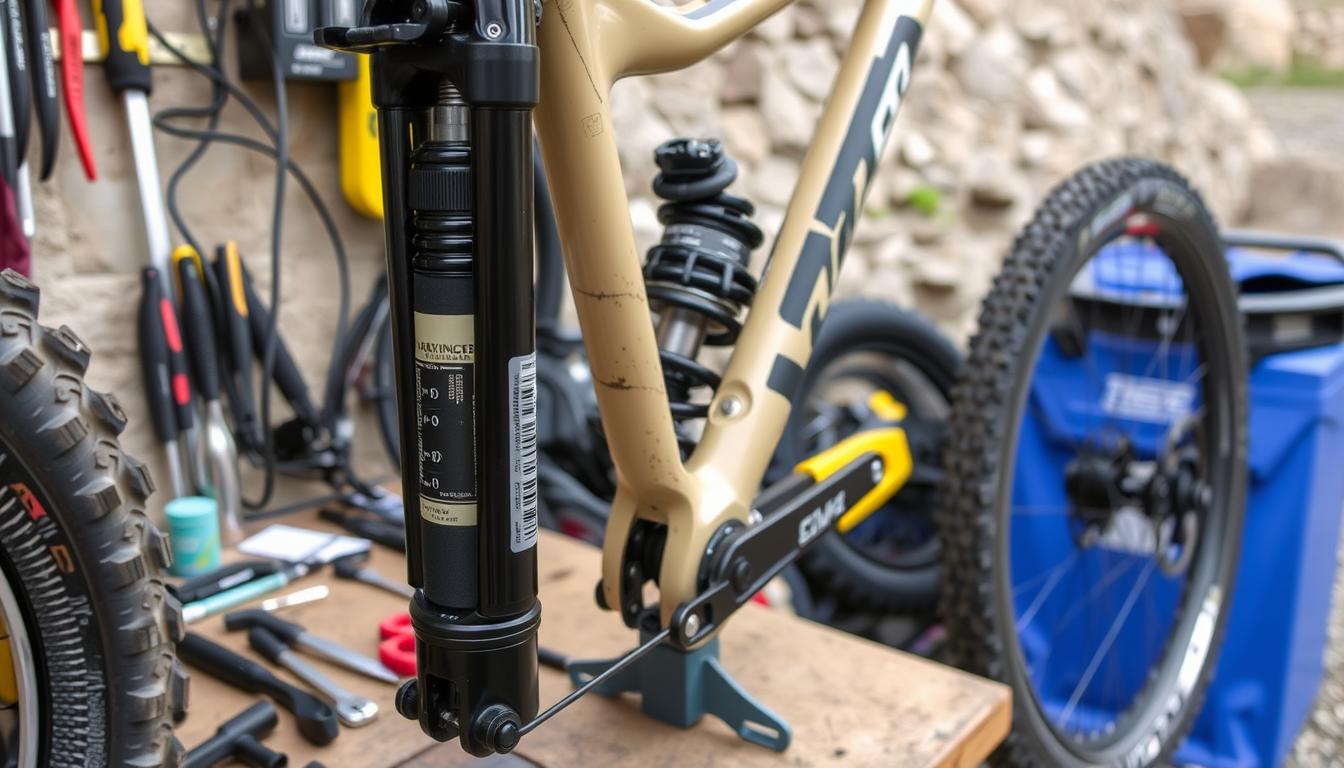
Setting up your mountain bike suspension is key for the best ride. A well-tuned suspension can turn a good bike into a great one. But, a bad setup can ruin even the best bike. This guide will show you how to set up your mtb suspension, from the basics to the details.
Whether you’re new to biking or have been riding for years, learning about suspension setup is important. The right setup can make your rides better and safer. It also helps protect your bike from damage.
Key Takeaways
- Correctly tuned suspension is essential for optimal performance and comfort
- Learning how to set up mtb suspension is crucial for peak performance
- Mountain bike suspension setup includes essential tools and equipment
- Step-by-step instructions are necessary for setup and adjustment
- Understanding the basics of mountain bike suspension is vital for a good setup
- How to set up mtb suspension is not difficult with the right guide
- Mountain bike suspension setup can improve your riding experience
Understanding Mountain Bike Suspension Basics
When it comes to tuning mtb suspension, knowing the basics is key. Mountain bike suspension helps absorb shocks and makes the ride smooth. There are different systems to choose from, like air forks and coil forks.
Air forks are great for cross-country riders because they’re adjustable and efficient. Coil forks, on the other hand, offer a consistent feel. They’re perfect for aggressive riding and rough terrain.
Proper adjusting mountain bike suspension is crucial. It ensures the bike performs well, is comfortable, and safe. The fork and shock, along with the damping system, are important.
The fork should sag 20-30% of its travel, and the shock 25-35%. Adjusting compression and rebound damping helps fine-tune the suspension. Regular maintenance is also key to keep the suspension working well.
Types of MTB Suspension Systems
- Air forks: offer a high degree of adjustability and efficiency
- Coil forks: provide a more linear and consistent suspension feel
- Coil shocks: offer a more linear and consistent suspension feel compared to air shocks
Key Suspension Components
The fork, shock, and damping system are vital for a mountain bike’s suspension. Knowing how they work together is essential for tuning mtb suspension and adjusting mountain bike suspension. This ensures the bike performs well and is safe.
Essential Tools and Equipment for Suspension Setup
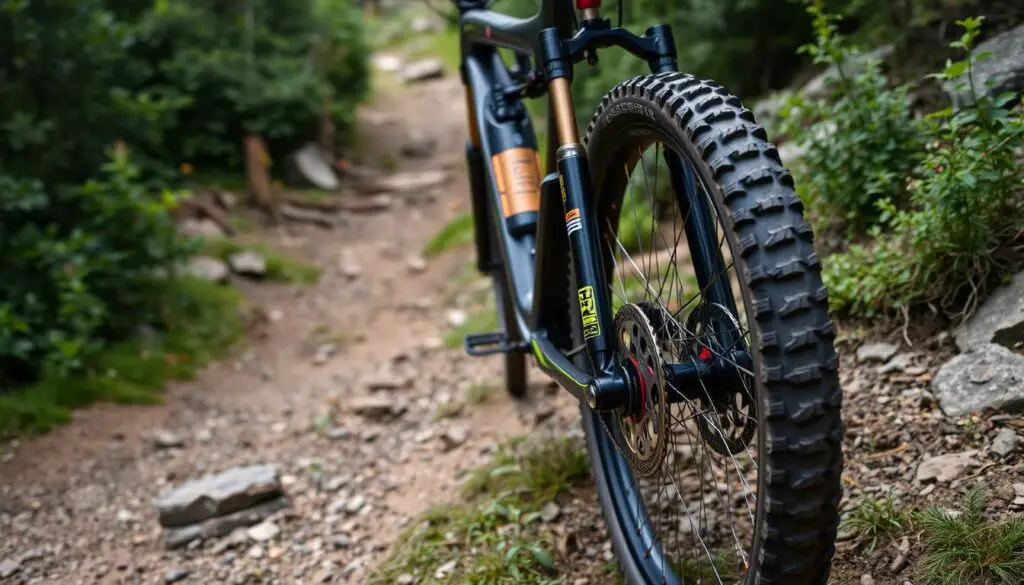
Setting up your mountain bike’s suspension needs the right tools. You’ll need a shock pump, measuring device, and calculator. These help adjust air pressure and measure suspension sag. Also, a clean workspace is key for accurate setup.
For example, adjusting fork rebound needs precise measurements. This ensures your bike performs at its best.
To start, gather the necessary tools and equipment. Here are some key items to include:
- A shock pump for adjusting air pressure
- A measuring device for measuring suspension sag
- A calculator for calculating sag percentages
- A clean and well-maintained workspace
Proper suspension setup is vital for performance and safety. With the right tools, you can fine-tune your fork rebound adjustment and suspension sag. Always follow the manufacturer’s setup and adjustment guidelines.
Investing in the right tools enhances your mountain biking. Whether you’re experienced or new, proper suspension setup is crucial. So, get the right tools today and optimize your bike for the best ride.
How to Set Up MTB Suspension: Step-by-Step Process
To setup mtb suspension for optimal performance, start by measuring your weight and the gear you carry. This helps set the right sag and pressure levels. It’s key to making a suspension setup guide that fits you perfectly.
For a mountain bike, aim for 25-35% sag. On a 100mm travel bike, that’s 25mm-33mm when you’re sitting down. Fork sag should be between 15-25%. These are the base settings for fine-tuning your suspension.
- Measure rider weight and gear to determine optimal sag and pressure settings
- Adjust initial pressure settings based on rider weight and gear
- Make basic adjustments to the fork and shock to achieve the desired sag and rebound settings
By following these steps and making a personalized suspension setup guide, you’ll get your MTB suspension just right. You’ll enjoy a ride that’s both comfortable and responsive.
| Sag Percentage | Travel Bike | Fork Sag |
|---|---|---|
| 25-35% | 100mm | 15-25% |
Mastering Suspension Sag Measurement
Understanding sag is key when setting up your mountain bike suspension. Sag is how soft or hard your suspension is. It’s the travel that supports your full bodyweight on the bike. To master it, find the perfect sag percentage, which varies by riding style and personal preference.
Start by using your weight in Kg to PSI for sag setup. For example, an 80kg rider should begin with 80psi in the fork. Aim for a sag percentage between 15-25%. Most manufacturers suggest starting at 20% for forks and 30% for shocks. Here are some general guidelines:
- For cross-country riding, aim for 15-20% sag.
- For trail riding, aim for 20-25% sag.
- For downhill riding, aim for 25-30% sag.
Rebound adjustment involves turning the dial clockwise to add damping and counterclockwise to reduce it. By following these guidelines and experimenting, you can find the perfect balance for your riding style. This will improve your mountain bike suspension setup.
Mastering suspension sag measurement is crucial for optimizing your mountain bike suspension setup. By understanding how to set up your suspension and finding the perfect sag percentage, you can enhance your riding experience. Whether you’re a beginner or an experienced rider, learning how to set up mtb suspension and mastering suspension sag measurement is essential.
| Riding Style | Sag Percentage |
|---|---|
| Cross-Country | 15-20% |
| Trail Riding | 20-25% |
| Downhill Riding | 25-30% |
Fork Setup and Adjustment Techniques
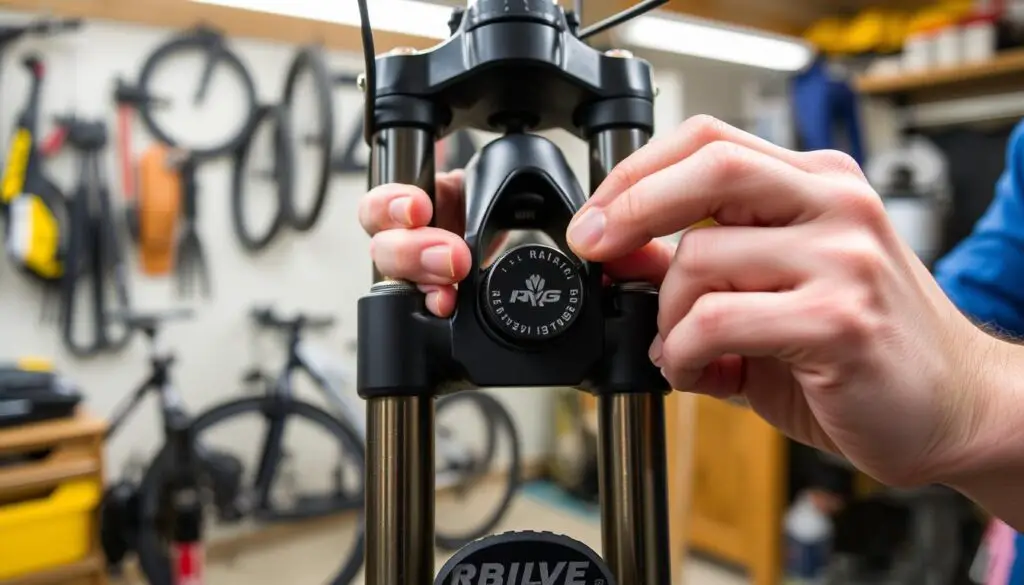
Setting up your fork right is key for a great mountain bike ride. Fork rebound adjustment is important for how your bike handles and stays stable. Knowing how to adjust fork rebound and shock compression is crucial.
Adjusting air-spring pressure and rebound damping is a big part of fork setup. Follow the manufacturer’s guide, like the Fox suspension fork pressure chart. For example, heavier riders need slower rebound to keep the wheel on the ground.
When you’re fine-tuning your fork, make small changes and test them on a good route. This helps you see how each change affects your ride. Important things to consider include:
- Recommended fork sag: 15-20%
- Rebound damping: slower for heavier riders, faster for smaller bumps
- Compression adjustments: often blue dials or levers at the top of the fork
Learning how to set up and adjust your fork can make your mountain bike ride better. This, along with shock compression tuning, makes for a smoother and more fun ride. Always check the manufacturer’s guide and ask for help from experts or local bike shops.
Rear Shock Tuning Guidelines
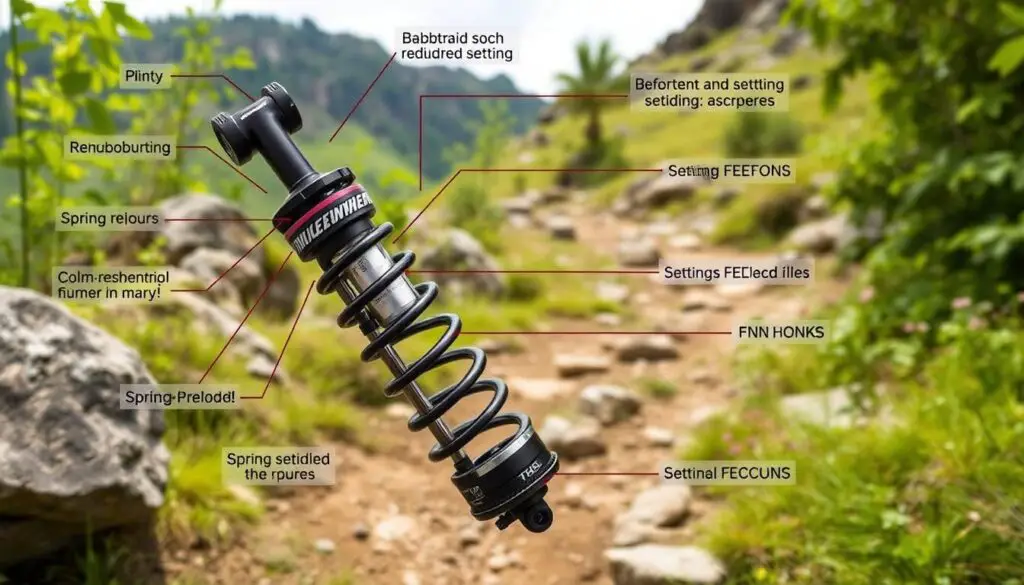
Proper rear shock tuning is key for great performance and comfort. It’s important to know the basics of shock compression tuning. This helps in setting up your mountain bike suspension for the best results.
When tuning your rear shock, consider a few important factors. These include compression settings, rebound adjustment, and volume spacers. Adjusting these can greatly improve your bike’s handling and stability. For instance, tweaking the rebound setting can make your bike recover faster or slower, based on the Trek Suspension Calculator’s advice.
Compression Settings
To get the best compression settings, aim for 25-35% sag. This means adjusting the PSI levels based on the o-ring’s travel. Volume spacers also help in adjusting air suspension progression, preventing bottoming out and improving suspension feel.
Rebound Adjustment
Rebound adjustment is crucial for rear shock tuning. The recommended range is 1-3 clicks clockwise to slow down recovery or 1-3 clicks counter-clockwise to speed it up. Your personal preference and riding style also affect the ideal suspension setting.
By following these guidelines and considering compression settings, rebound adjustment, and volume spacers, you can fine-tune your suspension. This ensures better performance and comfort. Always check and adjust your shock setup regularly for the best ride.
| Component | Recommended Setting |
|---|---|
| Sag | 25-35% of shock travel |
| Rebound | 1-3 clicks clockwise or counter-clockwise |
| Volume Spacers | Adjust to prevent bottoming out and enhance suspension characteristics |
Fine-Tuning for Different Riding Styles
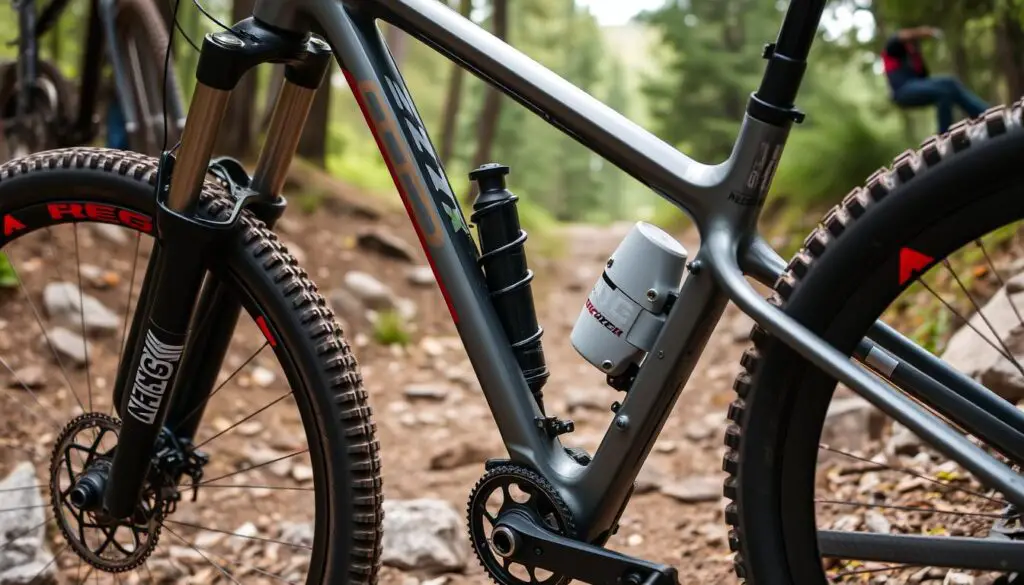
Adjusting your mountain bike suspension is key to matching your riding style. Whether you’re into cross-country, trail, or downhill, tweaking your suspension can greatly improve your ride. For example, cross-country riders like a lighter setup with less sag, about 10-15% in the front and 15-20% in the rear.
Downhill riders, on the other hand, need a more aggressive setup with higher sag. They aim for 25-28% in the front and 25-35% in the rear. Adjusting mountain bike suspension to fit your style means considering your weight, the terrain, and what you prefer. Finding the right suspension sag mountain bike percentage is crucial for how your bike handles and feels.
Here are some general guidelines for suspension sag percentages for different bike types:
- X-Country: Front 10-15%, Rear 15-20%
- Enduro: Front 20-25%, Rear 25-30%
- Downhill: Front 25-28%, Rear 25-35%
By adjusting your suspension to fit your needs, you can make your rides better and improve your performance on trails.
| Riding Style | Front Suspension Sag | Rear Suspension Sag |
|---|---|---|
| Cross-Country | 10-15% | 15-20% |
| Enduro | 20-25% | 25-30% |
| Downhill | 25-28% | 25-35% |
Advanced Suspension Settings for Racing
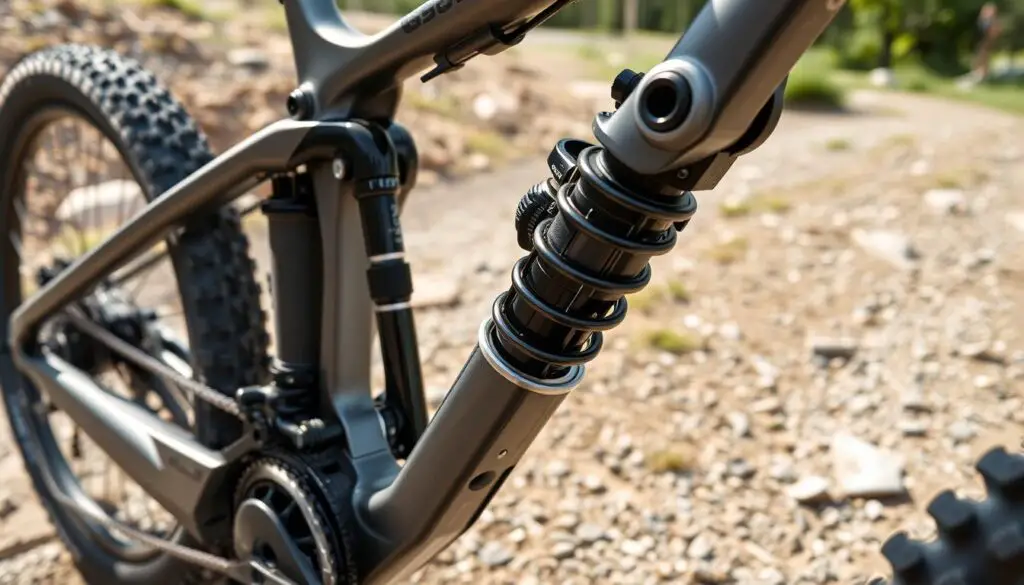
For racing, the right suspension setup is key. Knowing how to set up mtb suspension and understand mountain bike suspension setup is crucial. Advanced settings like high-speed and low-speed compression need a good grasp of suspension dynamics and how to adjust them.
High-speed compression is vital for rough terrain. If you’re racing on bumpy tracks with big jumps, you need your suspension to compress fast. This ensures fully supported landings. Adjust your fork and shock’s high-speed compression settings for this.
Low-speed compression is also important for racing. It deals with smaller bumps and terrain irregularities. By tweaking the low-speed compression, you can fine-tune your suspension for better support and traction.
High-Speed Compression
High-speed compression is for tough features like big jumps and drops. It needs quick compression for fully supported landings. Adjust this setting based on your terrain and riding style.
Low-Speed Compression
Low-speed compression handles smaller bumps and terrain irregularities. Adjusting this setting helps fine-tune your suspension for better support and traction.
Race-Day Adjustments
On race day, make final adjustments to your suspension setup. This might include tweaking high-speed and low-speed compression settings. By fine-tuning your suspension, you can gain a competitive edge and enhance your racing experience.
Troubleshooting Common Suspension Issues
When it comes to tuning mtb suspension, finding and fixing common problems is key. One big issue is wrong sag, which can be fixed by adjusting mountain bike suspension settings. First, check the recommended sag percentage for your fork and shock. It’s usually 20-30% and 25-35% of total travel, respectively.
Air forks and shocks let riders adjust settings a lot. But coil forks give a more consistent feel. Keeping suspension parts clean, lubricated, and checked for wear is also important.
Some common problems include:
- Traction problems in mud
- Unresponsiveness
- Difficulty in clearing jumps
- Not using the full suspension travel
- Preventing bottoming out on big drops
- Reducing feedback through the handlebars
- Avoiding fork dive in berms
To solve these issues, try adjusting LSR and HSR for more pop. Or use volume spacers for extra support on big hits. Proper tuning mtb suspension and adjusting mountain bike suspension can also help with pedal bobbing and control.
By following these tips, riders can make their suspension better. This means a more comfortable and responsive ride. Always check your bike’s manual and ask a pro if you’re not sure about suspension tuning or adjustment.
| Suspension Component | Recommended Maintenance |
|---|---|
| Air Forks | Cleaning, lubricating, and inspecting for wear |
| Coil Forks | Regular cleaning and lubrication |
| Rear Shocks | External adjustments for preload, compression, and rebound damping |
Seasonal Suspension Adjustments
As the seasons change, it’s key to adjust your mountain bike suspension. This ensures you get the best performance and comfort. A good suspension setup guide can greatly improve your ride.
In summer, a softer suspension helps with traction on dry trails. But in winter, a firmer setup is needed for snowy and icy paths. Proper suspension adjustments help you ride confidently in these conditions.
- Summer: Softer suspension setup, lower tire pressure, and more aggressive tire tread
- Winter: Firmer suspension setup, higher tire pressure, and spiked tires for added traction
By following these tips and using a detailed suspension setup guide, you can enhance your bike’s performance. This way, you’ll enjoy a more comfortable ride, no matter the season. Always adjust your suspension to fit your riding style and the trail’s demands.
Seasonal adjustments are necessary to ensure optimal performance and comfort in different riding conditions.
Maintenance Schedule for Optimal Performance
Regular maintenance is key for your suspension’s performance and life. To keep your mountain bike suspension in top shape, follow a maintenance schedule. This includes cleaning and servicing parts, which are crucial for a smooth ride.
Knowing how to set up mtb suspension means understanding maintenance’s role. A well-kept suspension system offers better ride quality and control. Regular maintenance prevents damage, saves on repairs, and keeps your bike running smoothly.
Regular Cleaning Protocol
Inspect and clean suspension parts, like the fork and rear shock, often. This stops dirt and debris from harming your components. Also, lubricating parts reduces friction and wear, ensuring they work smoothly.
When to Service Components
Regularly servicing components is vital for their performance and life. Check and replace worn-out parts, like seals and bushings, and adjust settings as needed. This keeps your bike’s suspension in top condition, offering a comfortable and controlled ride.
Here’s a basic maintenance schedule for mountain bike suspension:
| Component | Maintenance Schedule |
|---|---|
| Fork | Clean and inspect every 50 hours of riding, service every 200 hours |
| Rear Shock | Clean and inspect every 50 hours of riding, service every 200 hours |
Conclusion
Setting up your MTB suspension for the best performance is all about paying attention to a few key things. You need to think about the terrain, your riding style, and your bike’s design. A good suspension setup guide can really change how you ride, making it more comfortable, controlled, and efficient.
For heavier riders, a firmer suspension might be better. Lighter riders might like it softer. If you’re into aggressive riding, you might want a stiffer setup for jumps and drops. But if you’re just cruising, a softer ride could be more your style.
Keeping your suspension in top shape is also important. Make sure to adjust the sag right, fine-tune the damping, and use the right tools. With the right setup, your ride will be more responsive, controlled, and comfortable. This makes every trail adventure even more fun.

I am Ryan Ford, a mountain biking enthusiast who loves to explore the outdoors. I also like to go on adventures with friends and anything else that involves being outside. I love my bike because it gets me out of the house and gives me an opportunity to enjoy nature.

