
For enthusiasts of dirt bike riding, the importance of proper bike maintenance, especially regarding the chain, is paramount. A chain that is either too tight or too loose can adversely impact your ride, resulting in excessive wear and possibly causing damage to various components of your bike. So, the question arise how to tighten the chain on a dirt bike?
This guide will provide you with a step-by-step process for adjusting your dirt bike chain, ensuring a smooth and safe ride every time. You can easily fine-tune your chain and keep it in excellent condition. Start now to maintain your dirt bike’s optimal performance!
Identifying When Your Dirt Bike Chain Needs Adjustment:
Before adjusting, it’s crucial to spot the warning signs that indicate your chain requires maintenance. A common sign is excessive slack; if you can lift the chain away from the swingarm significantly, it’s too loose.
Another indicator is a rattling or vibrating noise while riding, which can happen when the chain is not tensioned correctly. Additionally, suppose your chain frequently slips off the sprockets or feels sluggish during acceleration.
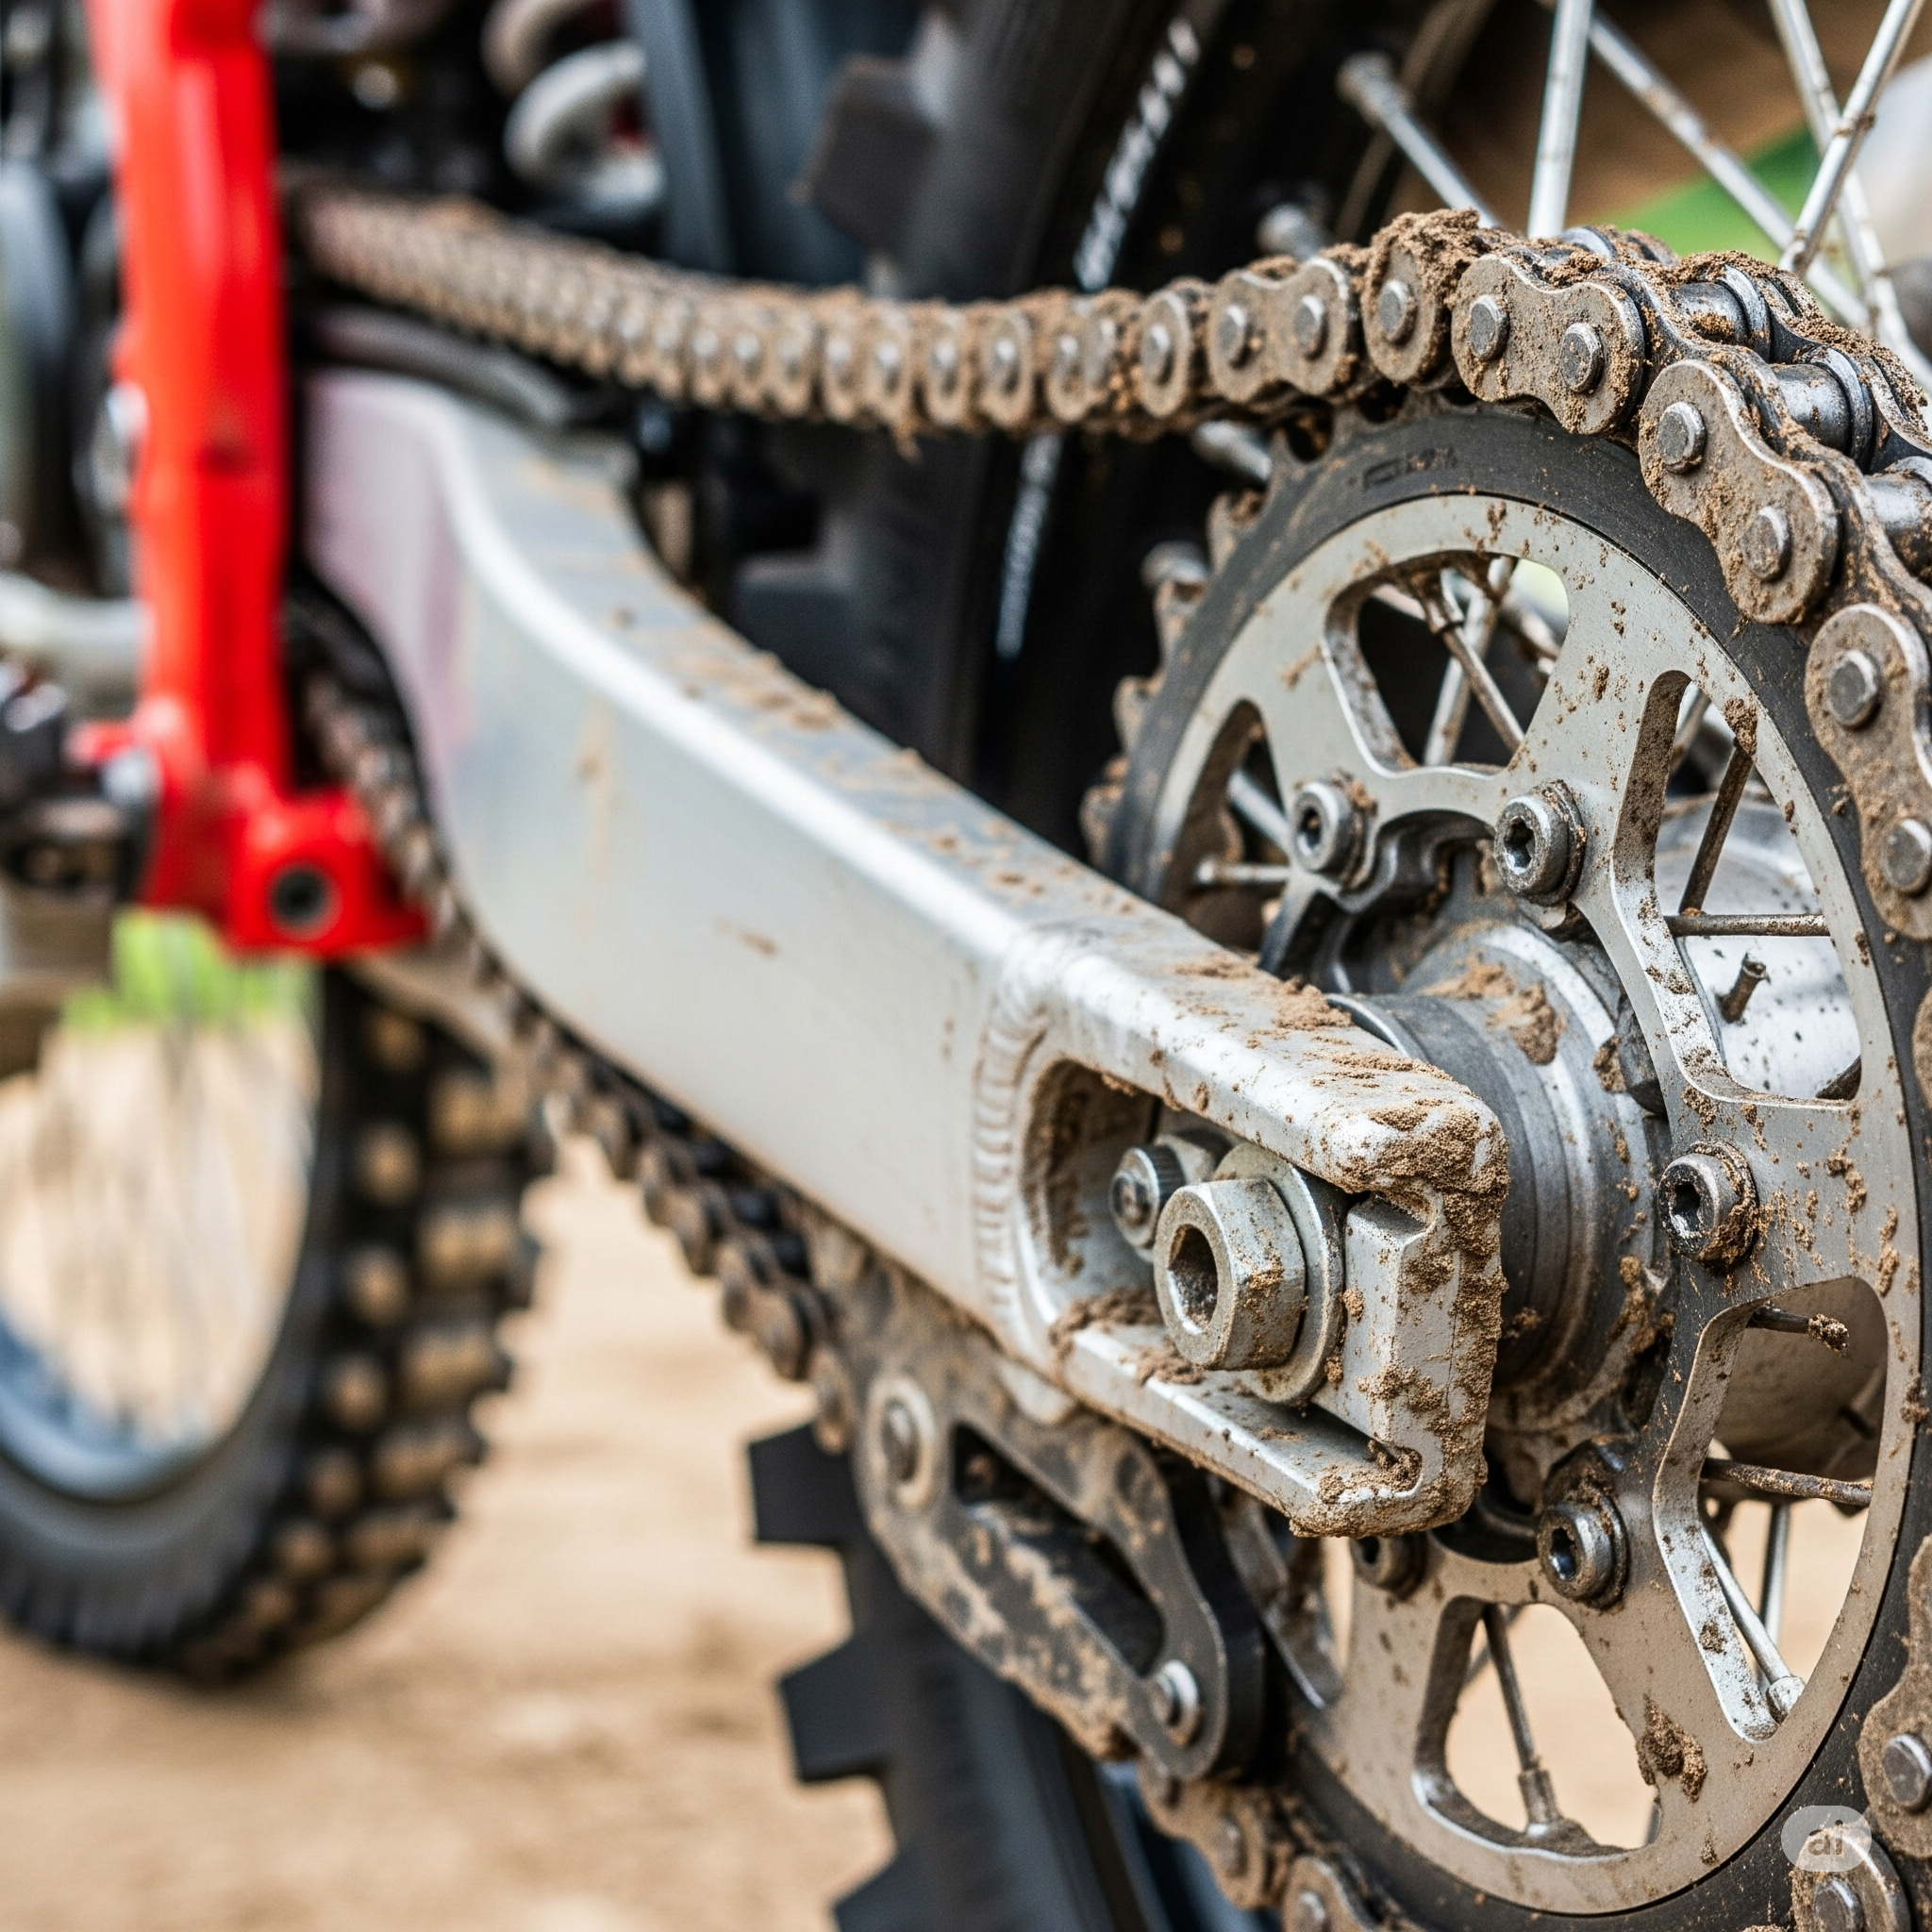
How to tighten the chain on a dirt bike
Now that you’ve adjusted the chain tension, it’s time to proceed with tightening the chain on your dirt bike. Follow the below steps:
Essential Tools for Tightening Your Dirt Bike Chain
Having the right tools is key to making the job easier and ensuring safety. Here’s what you’ll need:
- Wrench or Socket Set: To loosen and tighten the axle nut.
- Chain Adjuster Tool: For precise adjustments to the chain tension on the rear swingarm.
- Measuring Ruler or Caliper: To verify the correct amount of chain slack.
- Torque Wrench: To ensure the axle nut is tightened to the proper specification.
- Use a spanner or adjustable wrench: To adjust the chain tension bolts.
Preparing Your Dirt Bike for Chain Adjustment
Before getting started, it’s essential to ensure that your bike is in a stable position and that the proper safety precautions are taken. Follow these steps to prepare:
- Place the Bike on a Flat Surface: Ensure the bike is on solid ground to prevent it from tipping over during the adjustment.
- Use a Bike Stand: Secure the bike using a stand to keep it steady and at an appropriate height for easier access to the chain.
- Turn Off the Engine: Make sure the engine is off and the bike is in neutral to avoid accidental starts.
- Wear Protective Gear: Safety first—wear gloves and goggles to protect yourself while working.
Thorough preparation will guarantee a safe and effective chain adjustment process.
How to Loosen the Axle Nut
Loosening the axle nut is the first step in adjusting the chain tension on your dirt bike. Follow these steps:
- Locate the Axle Nut: Find the large nut on the rear axle that secures the rear wheel.
- Use the Correct Tool: Use a wrench or socket set that fits the axle nut securely.
- Apply Force: Turn the nut counterclockwise to loosen it. You may need to apply extra force if it’s tightly secured.
- Loosen, Don’t Remove: Loosen the nut enough so the axle can move, but do not entirely remove it just yet.
Once the axle nut is loosened, you’re ready to adjust the chain tension.
Adjusting the Chain Tension
Once the axle is loosened, you can adjust the tension on the chain using the chain adjusters on the rear swingarm. Here’s how:
- Locate the Chain Adjusters: Find the adjusters on both sides of the rear swingarm near the axle.
- Turn the Adjuster Bolts: Use a spanner or adjustable wrench to turn the bolts, tightening or loosening them to adjust the chain tension evenly on both sides.
- Check the Tension: Ensure the chain has the right amount of slack, typically 1 to 1.5 inches, by moving the chain up and down.
- Make Fine Adjustments: If needed, make minor adjustments to balance the chain tension equally on both sides.
Proper chain tension will ensure smooth riding and prevent unnecessary wear.
Check the Chain Slack
After adjusting the tension, it’s essential to measure the chain slack to ensure it’s within the correct range for your bike’s specifications. Here’s how:
- Measure the Slack: Use a ruler or caliper to measure the amount of slack in the middle of the chain, between the front and rear sprockets.
- Check Manufacturer’s Specifications: Refer to your dirt bike’s manual for the recommended slack range, typically around 1 to 1.5 inches.
- If the slack is too loose or tight, make minor adjustments using the chain adjusters.
- Double-Check: Rotate the rear wheel and verify that the slack remains consistent throughout the chain’s length.
Proper slack ensures smooth operation and reduces wear.
Re-tighten the Axle Nut
Once the chain is tensioned correctly, you need to re-tighten the axle nut to secure everything in place. Follow these steps:
- Align the Axle: Ensure the axle is properly aligned before tightening the nut to prevent uneven wear.
- Use the Correct Tool: Use a wrench or socket to tighten the axle nut securely.
- Apply Proper Torque: Tighten the nut according to the manufacturer’s recommended torque setting to avoid over-tightening.
- Check Alignment: Make sure the rear wheel remains straight and centered after tightening the nut.
- Double-Check: Give the axle nut one final check to ensure it is firmly secured.
Re-tightening the axle nut ensures the wheel and chain stay securely in place.
Test the Chain Tension
After tightening the axle, take the time to manually check the chain slack by rotating the rear wheel and confirming the chain’s movement. Here’s how:
- Rotate the Rear Wheel: Turn the rear wheel by hand to allow the chain to move freely.
- Check the Chain Movement: Observe how the chain moves and ensure there’s no tightness or excessive slack.
- Measure the Slack Again: Re-check the slack in the chain, making sure it stays within the recommended range.
Testing ensures that your chain is adjusted correctly for a smooth ride.
Final Tips for Chain Maintenance
Tightening your chain is only part of the maintenance process, so here are a few final tips to keep your dirt bike chain in excellent condition:
- Regular Lubrication: Apply chain oil regularly to reduce friction and prevent rust.
- Clean the Chain: Clean the chain after every ride, especially if riding in muddy or wet conditions, to remove dirt and debris.
- Check for Damage: Regularly inspect the chain for signs of stretching, broken links, or worn sprockets to ensure it’s in good condition.
- Adjust Tension as Needed: Re-check chain tension every few rides and adjust it as necessary.
Proper care ensures your chain lasts longer and performs efficiently.
FAQ Section:
1. How do I know if my dirt bike chain is too loose?
- A loose chain will often make a rattling sound, slip off the sprockets, or create excessive slack. If you can pull the chain away from the swingarm significantly, it’s time to tighten it.
2. Can I tighten my dirt bike chain without a chain tool?
- Yes, you can tighten your dirt bike chain without a specialized chain tool. You’ll need basic tools like a wrench to loosen the axle nut, and a spanner or adjustable tool to adjust the chain tension on the rear swingarm.
3. How tight should a dirt bike chain be?
- The proper tightness for your dirt bike chain will vary depending on the manufacturer’s specifications. Typically, there should be about 1 to 1.5 inches of slack in the chain when measured at the mid-point between the front and rear sprockets.
Conclusion
Regular chain maintenance is more critical for the longevity and performance of your dirt bike, and following these steps will keep your bike running smoothly on every ride.
Understanding how to properly tighten the chain on a dirt bike is crucial for minimizing wear and optimizing overall riding performance. By maintaining the chain’s correct tension, along with regular lubrication and cleaning, you can ensure a safer and more efficient ride. This attention to detail will not only expand the lifespan of your bike but also extend your overall riding experience.

I am Ryan Ford, a mountain biking enthusiast who loves to explore the outdoors. I also like to go on adventures with friends and anything else that involves being outside. I love my bike because it gets me out of the house and gives me an opportunity to enjoy nature.