
There are advantages and disadvantages to riding without tubes. It is a significant leap, both in terms of difficulty and expense, to transition from conventional rims to a proper tubeless system.
Before you decide to make the purchase, give some thought to whether or not it is suitable for your preferred method of biking.
You have two options for going tubeless: You may purchase an authorized Tubeless rim and Tubeless tire or you can purchase a conversion kit that will allow you to utilize conventional tires and the rims you already have.
This article aims to answer all your questions regarding the overall cost of making a mountain bike tubeless.
Cost of the two different methods:
Traditional/ Classic Way (Method 1)
To go tubeless in the classic sense, you will need to purchase expensive rims designed specifically for tubeless tires. Depending on the caliber of the rims that you invest in, upgrading both sets of wheels can cost you anywhere from $500 to $5000 in total. When compared to the identical model in the regular kind, the price of a tubeless tire is around twice as high.
Using a conversion kit (Method 2)
Purchasing a conversion kit is the most cost-effective method for going tubeless. After installing a rim liner into your conventional rims and filling a typical tire with sealant, you will be ready to go. After shipping costs, a kit purchased from stores would run you approximately $50 in total.
On top of that, you are also going to need to make regular purchases of sealant. On the other side, you won’t have to invest as much money in purchasing a lot of inner tubes.
A labor cost of $40 per wheel is included in the LBS price for “installing a tubeless system.” You’ll need more than $100 for the tape, sealant, and valves. After the rim bed has been thoroughly cleaned, the tape, valve, tire, and sealant should be installed.
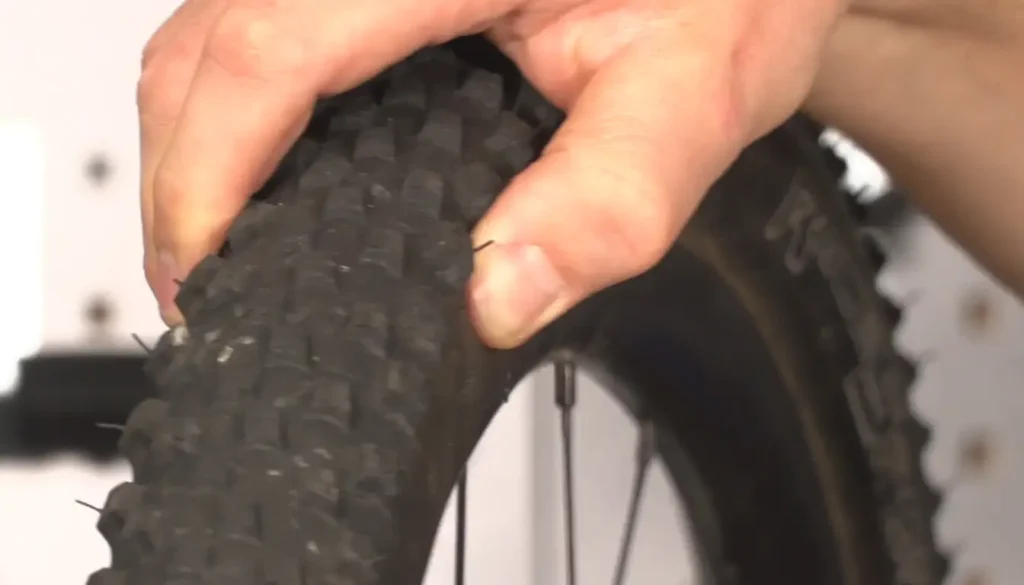
Finally, the tire should be seated, and the assembly should be thoroughly shaken. In a perfect world, they would start by inserting a tube, which would then be used to press down on the tape and shape it. It requires a significant investment of both time and effort. Tubeless rims are far more dependable, easier to use, and faster when using rims that feature a molded tubeless rim strip.
Tubeless System Components Costs
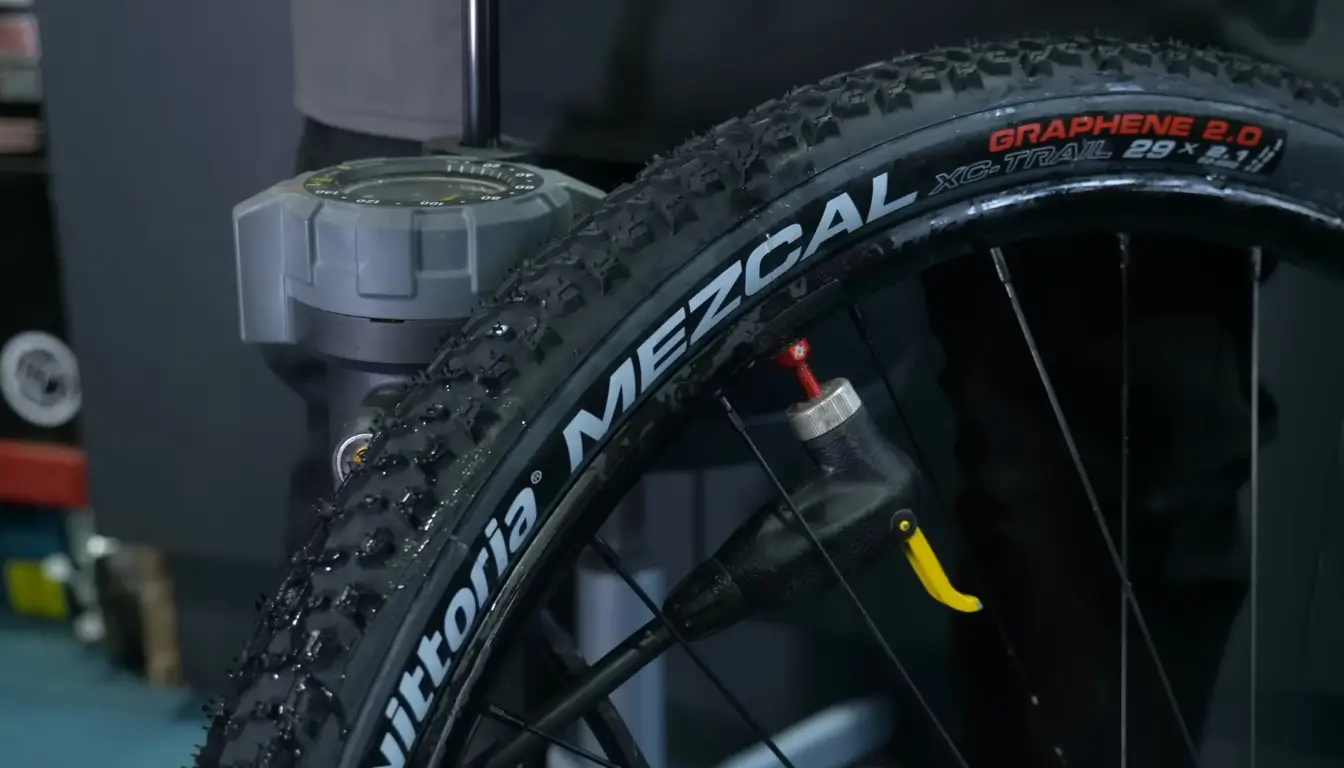
Tubeless Ready Rims: Wheels that are designed to be used without inner tubes have rim beds that are airtight. If you tried to inflate a standard rim, the air would leak out of the spoke holes. Tubeless-ready wheels prevent this from happening.
If the rim base is solid and there are no spoke holes, then it is ready to be used with tubeless tires; otherwise, you may need to add tubeless rim tape.
Be aware that if your wheels are relatively recent and have rims that are labeled as “hookless,” they can only be used with specialized tubeless tires that are compatible with hookless rims under the threat of one’s life. These generally start at around $500 to more than $1000
Tubeless Ready Tires: These tires are less porous than standard ones (which allows them to keep more air inside), and they have stretch-resistant edges, which lowers the likelihood of the tire blowing off the rim of the wheel. Be aware that some models come in less expensive non-tubeless forms, even though the vast majority of the top-ranking bike tires on the market today are tubeless. Tires start from $30
Sealant: Sealant for the tires is what makes the tubeless system work. It looks like a thin liquid that has a rubbery consistency and flows across the inside of your tire. If there is a hole in the container, the liquid will flow into it and then coagulate, hopefully providing a watertight and airtight seal. On average, you’ll need roughly 90 ml, although the exact amount can vary based on the size of your tire.
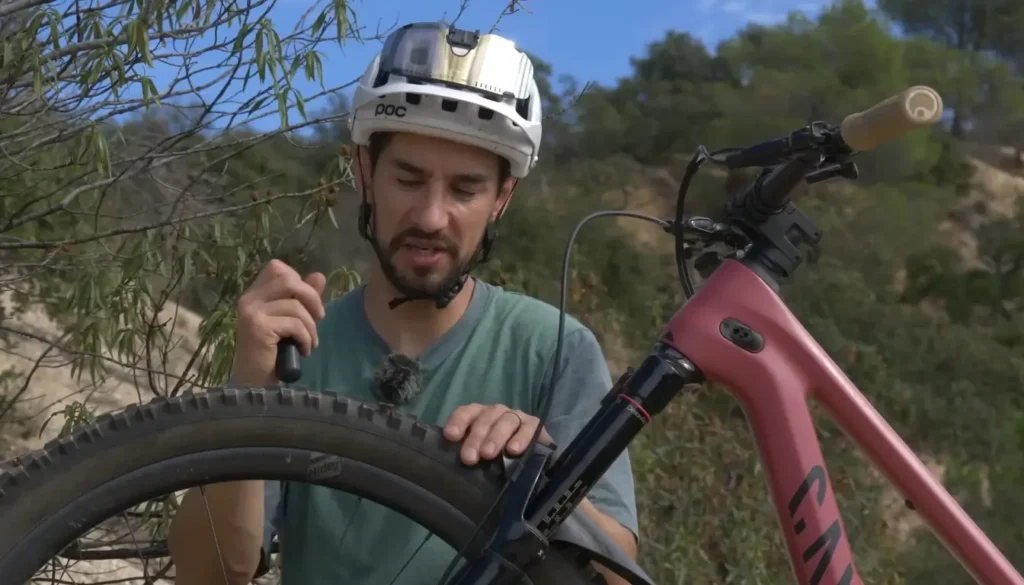
In addition to this, you will need to bring along some sort of tubeless repair equipment with you when you go out on the trail. You may also consider purchasing a repair kit of a higher duty for use around the house as well as a tubeless tire inflator with a high volume. They cost starting from around $30 to $100
Valves (Tubeless): These are, at their core, standard valves; however, they have unique seals on both the inside and the outside of the rim. These seals prevent air from leaking out through the valve opening. Take note that the seal that goes inside of the rim needs to have the appropriate dimensions for the rim that you have.
The valve heads should also come with detachable valve cores, which can be beneficial for filling the tire with sealant and for cleaning or changing the cores if they become clogged up with sticky material. If the cores do become clogged up, the valve stems should be replaced. The valves generally cost around $20
Tubeless Tire Inflator: High air pressure is required in order to create a seal between the rim and the tubeless tire. That is simply beyond the capabilities of your little pump. The vast majority of tubeless tire owners discover that using their floor pumps is not an option.
This indicates the use of a source of compressed air. In order to mount a tire, you either need a CO2 cartridge in your garage, a compressed-air cylinder in your garage, or a station that actually has compressed air and not just an electric pump that requires you to insert a quarter.
If you don’t have any of these options, mounting a tire requires you to use a compressed-air cylinder every time. These inflators can cost from $30 to $70
Is it worth It to Convert to a Tubeless System?
While going tubeless has obvious advantages (few flats, lower pressures, better riding experience, and increased speed), it does not result in any significant weight savings. If you are willing to make an effort and financial commitment to switch to tubeless tires, you will likely never regret it. No one should expect everyone to embrace tubeless technology, but if our experiences are any indication, it has a bright future.
While tubeless technology has now become standard on most mountain bikes, there is still some distance to go until it becomes mainstream.
Currently, installing tubeless tires takes a significant time and skill investment, which limits their potential to displace conventional clincher tires. It’s also pricey, what with having to buy brand-new tires and wheels.
There needs to be a universal standard to enable compatibility to get rid of the existing installation hassles that can make for a disappointing first experience with road tubeless, and there needs to be a commitment from other tire and rim manufacturers to expand the selection. Those who have made the switch to tubeless are undoubted believers, as it takes a lot to go back to traditional tires.
Tubeless Tire Prices by Brand

| Tire Brand | Price |
| Michelin | Starts From $50 |
| Schwalbe | Starts From $35 |
| Panaracer | Starts From $30 |
| Maxxis | Starts From $33 |
| Pirelli | Starts From $45 |
| Hutchinson | Starts From $35 |
| Zipp | Starts From $58 |
| Goodyear | Starts From $45 |
| Continental | Starts From $62 |
Conclusion
Converting to tubeless isn’t cheap. If you must convert to tubeless, however, be prepared to be set back at least $500-$2000. On top of that, there are extra maintenance costs, too, which add more to the burden later on.
With that said, going tubeless does have its perks. They allow you to maximize performance and run at lower pressures.
This makes the ride smoother yet safer, too, with increased bump protection. Tubeless tires seem to be perfect for riding enthusiasts.